DIY Front Porch Wood Wrapped Posts & Shutters
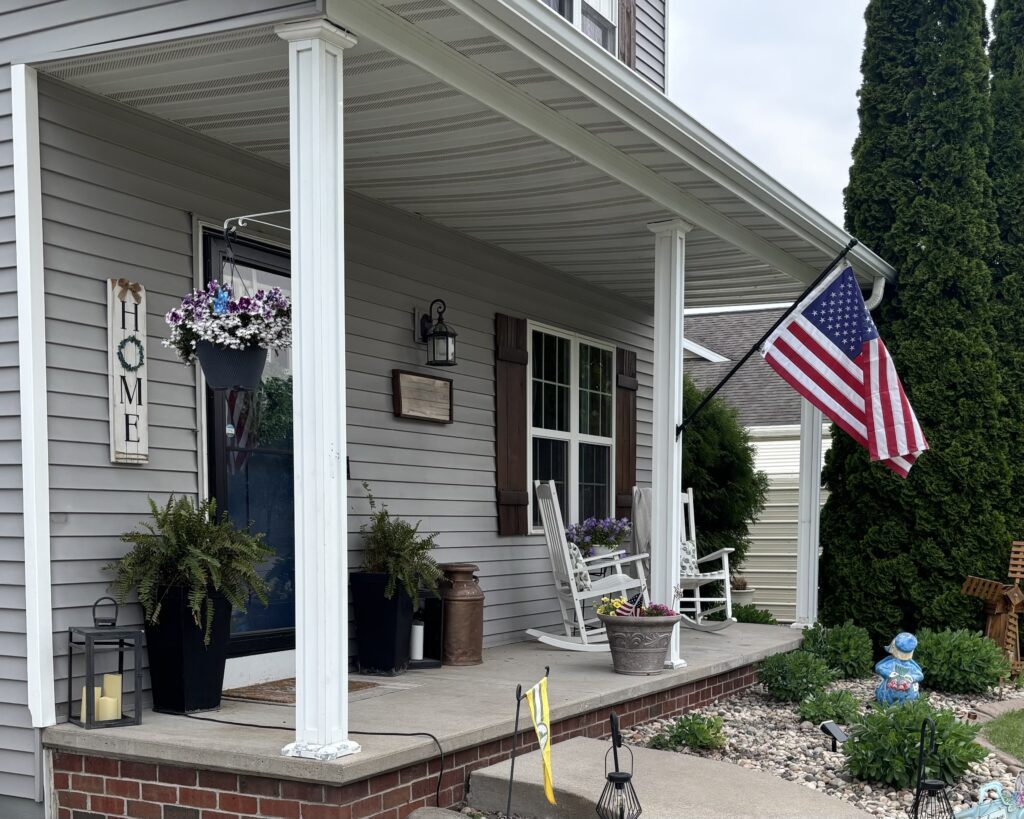
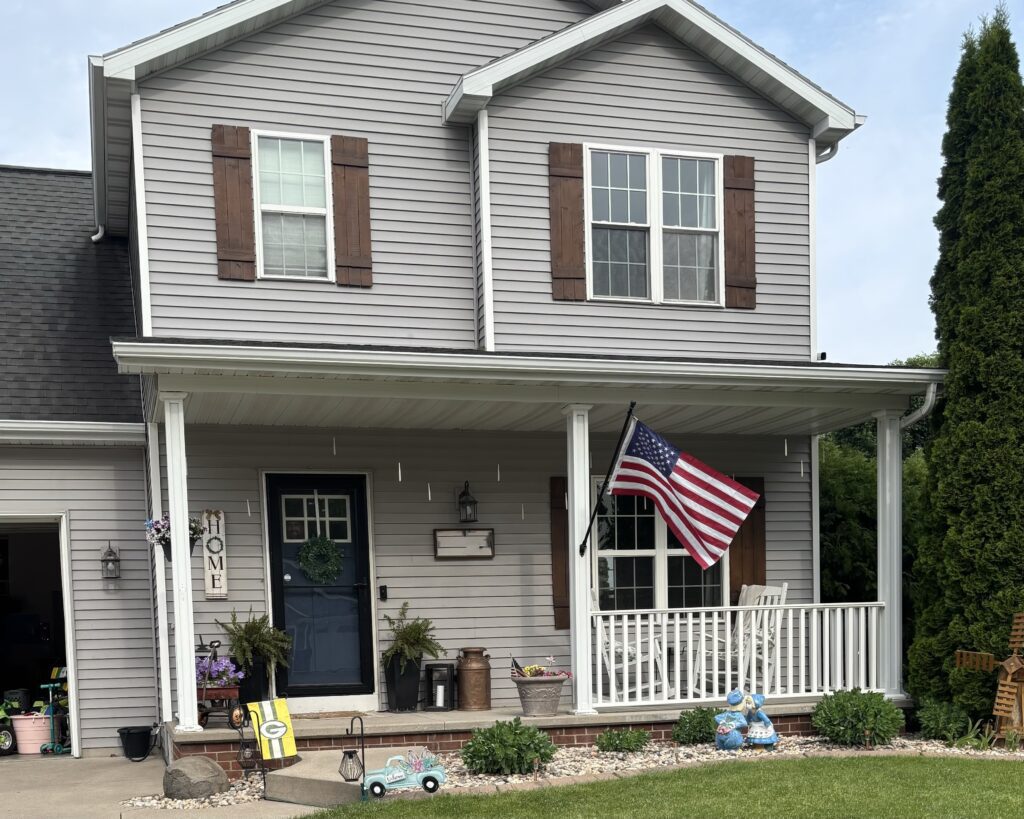
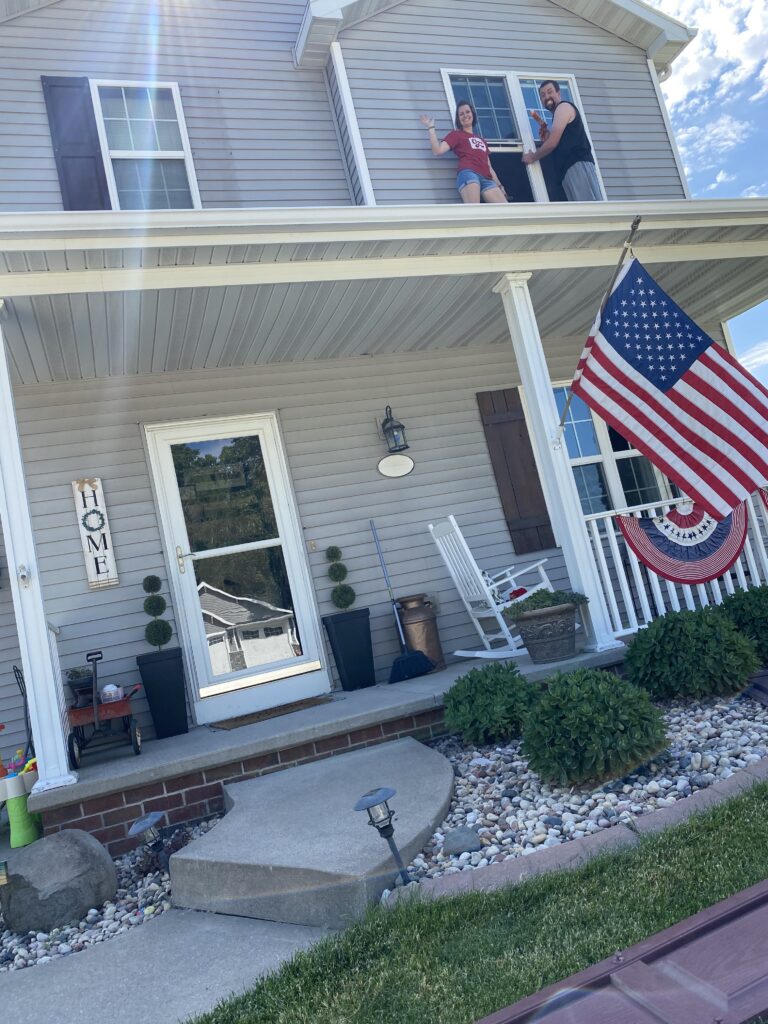
They have been expanding our neighborhood and the most significant differences between the house on the streets that have been here and the new ones: porch railings. I have been asking and asking to remove our railings to update the curb appeal. We finally were able to do it and made them to match the shutters we made in June 2021 (but never made a post about so I am doing that now)





Building Code
We checked with a local builder to make sure it was in code to do so. Building Code may vary from state to state so PLEASE CHECK WITH A LICENSED CONTRACTOR IN YOUR OWN STATE BEFORE STARTING.


Removing Railings & Pillar Caps
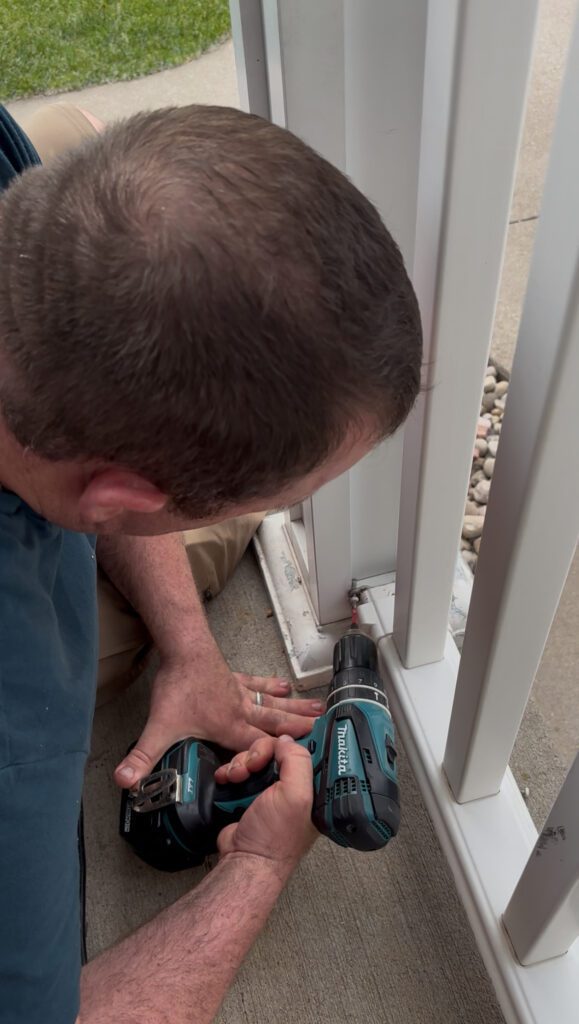
Once we knew removing our railings was going to be to code, we pushed back the caps covering the screws, unscrewed, and pushed them out. It was actually pretty easy. That being said, each rung of the railing was not attached but pinched in between so we did have to clean them up individually.
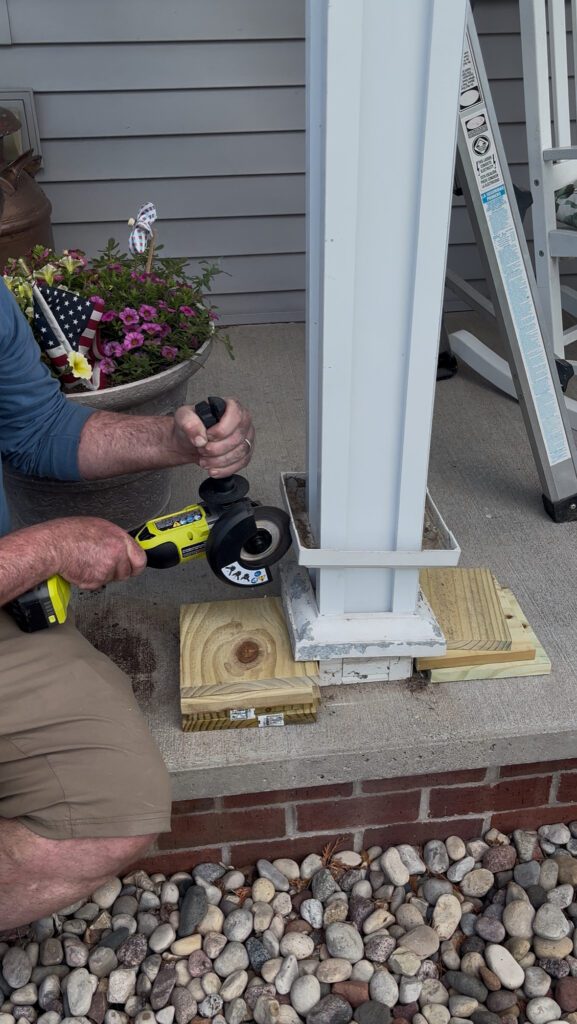
The caps must have been on the center of the posts when they installed them because there was no gaps or way to remove them without taking the posts down so we decided to just cut them off with a Ryobi Grinder.
Once the railings were down and the caps removed, now all we had to do was wrap the posts in wood. This left all the structural integrity of the porch in tact-only making cosmetic changes.
Wrapping Posts in Wood
**We use a lot of Ryobi tools because we have an extensive collection of batteries and chargers and it is nice they are affordable and all compatible with the same batteries
We measured the posts (square) and a 1×8 would cover the fronts and back. We planned on sandwiching the sides between the 1×8 (to make a square) but it would then float around the post vs being flush-so we decided to cut the sides to fit between being flush. It worked out perfectly for us the space between was the exact of a 1×6.
Our porch is over 8 foot and we didnt want to have to build the caps first and have the posts floating, so we went with 10 foot long boards and cut them down to size (leaving a small few inch gap at top that would be covered but allow for boards to tip in)
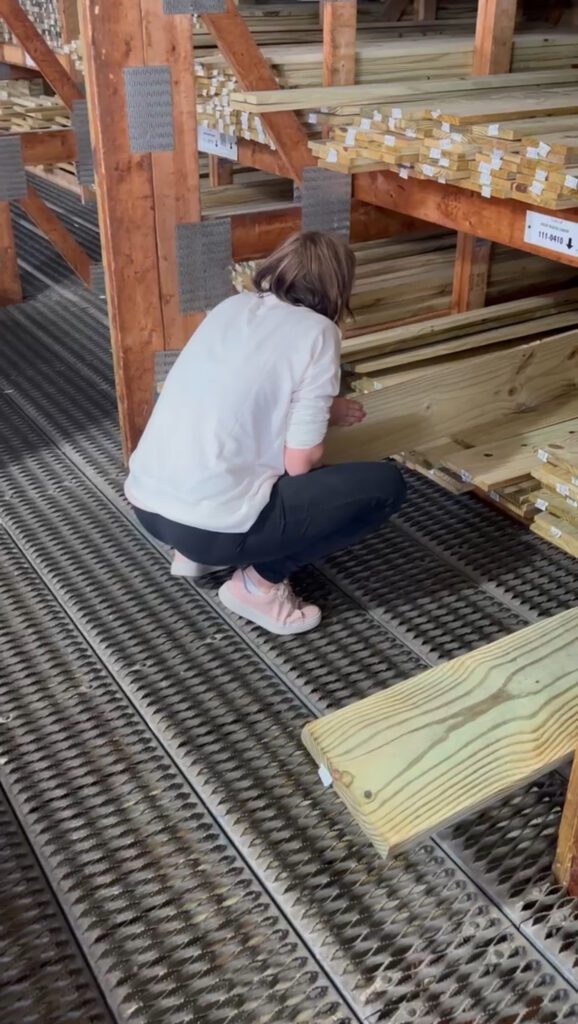
We went with green treated wood to help with longevity. We looked for straight boards when picking our choices. No matter what we measure and double check, there is always a second trip to the hardware store.

Cutting tips:
- When cutting our long boards down, we put a pile of boards (that were heavy enough not to move) at the end so we could but up to it and have the correct measurement each time.
- When making smaller cuts, we took a band aid out our first aid kit and marked where the wood should line up each time for a consistent cut.
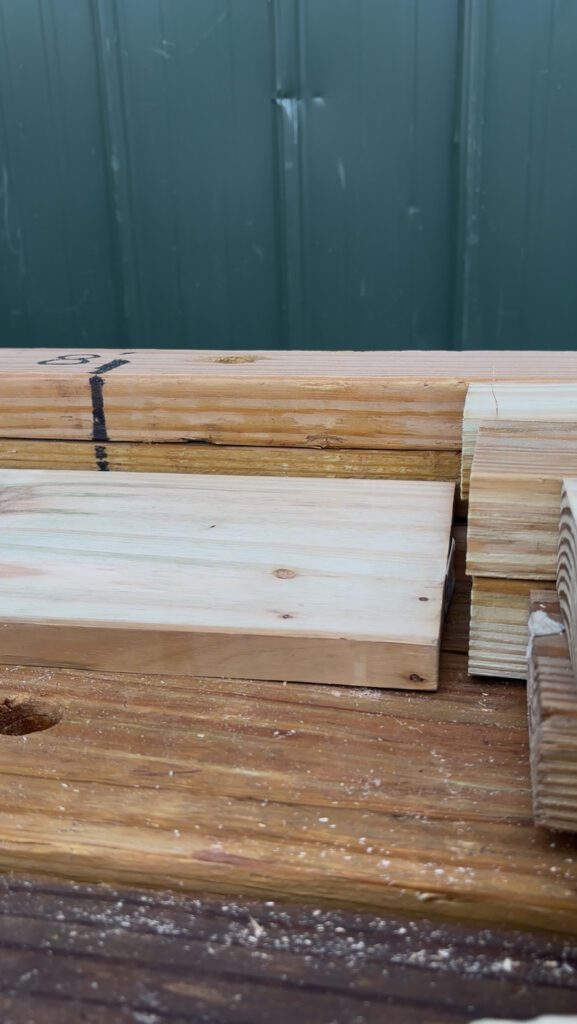

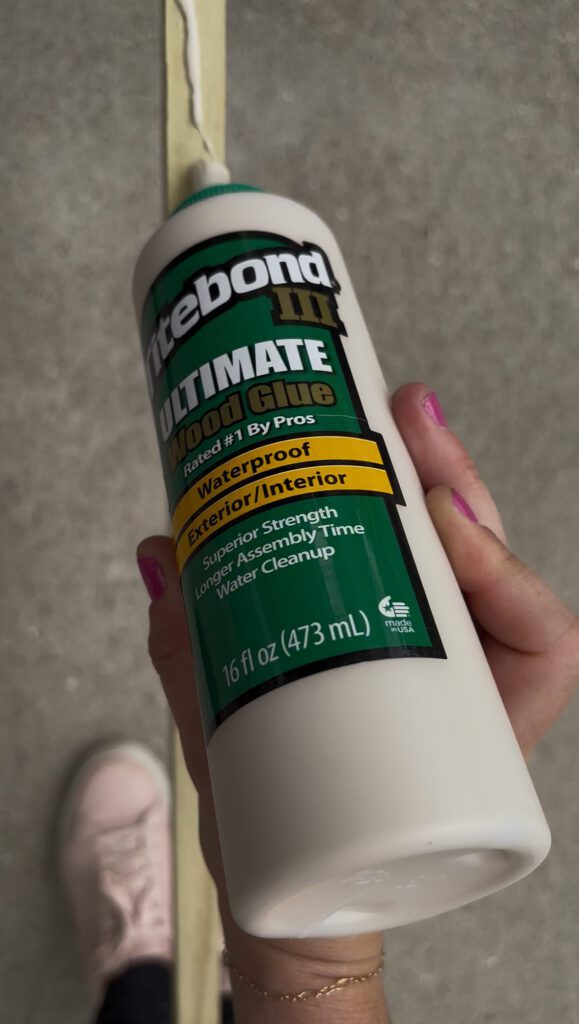
We built a 3 sided box pushing our boards against the current post. Press the 1×8 font and back against, bungee cord. Put Titebond outdoor, waterproof glue on the short sides of the 1×6. Remove bungee cord, clamp. Ryobi brad nail the 1×8 side into the 1×6 piece.
**At this point we intended to take the 3 sided box down and stain it, stain the remaining 1×6, and stain all the pieces for the caps, but the 3 sided box was wedged so tightly around the post we couldn’t get it off so now we finished the box with the final 1×6 with glue, clamp, and brad nail.

I used wood filler on all of the cracks on the short side where the wood met to ideally make it look more like a solid beam and the line as a part of the wood grain. This was the last step of day one and I was starving, so I wood filled with one hand and ate with the other.
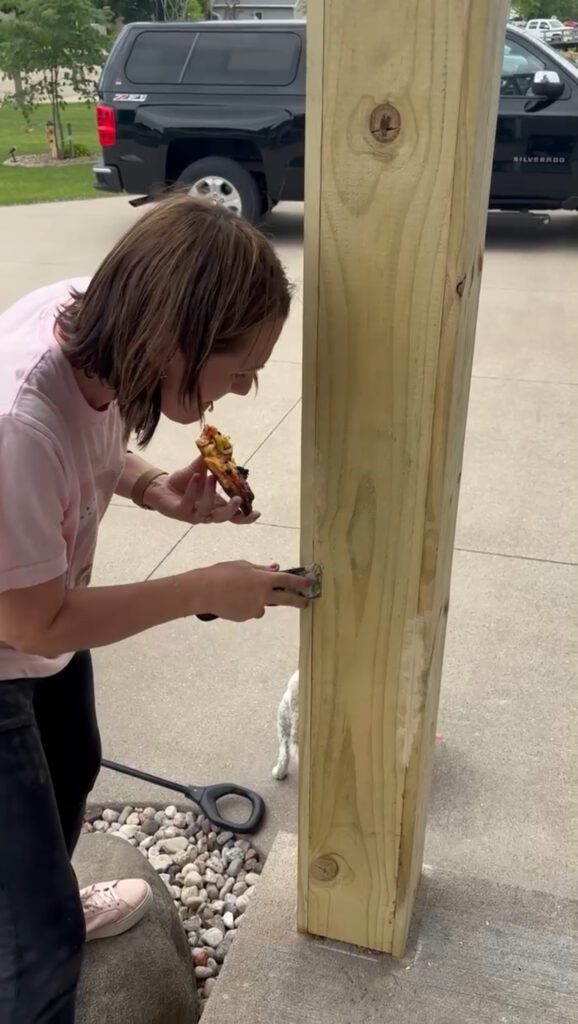
We then used a sink bit to make sure the screw head was buried into the post as we attached the wood post into the original post. That way the cap would lie flush.

For the caps we cut the at 45*
To Measure: put 2 boards on the outside of your post and that is the distance for your LONG side. This will be the outside of the cap so we made sure the “prettier” side was the long side.
Cut 45*, match up, glue, brad nail, wood fill.
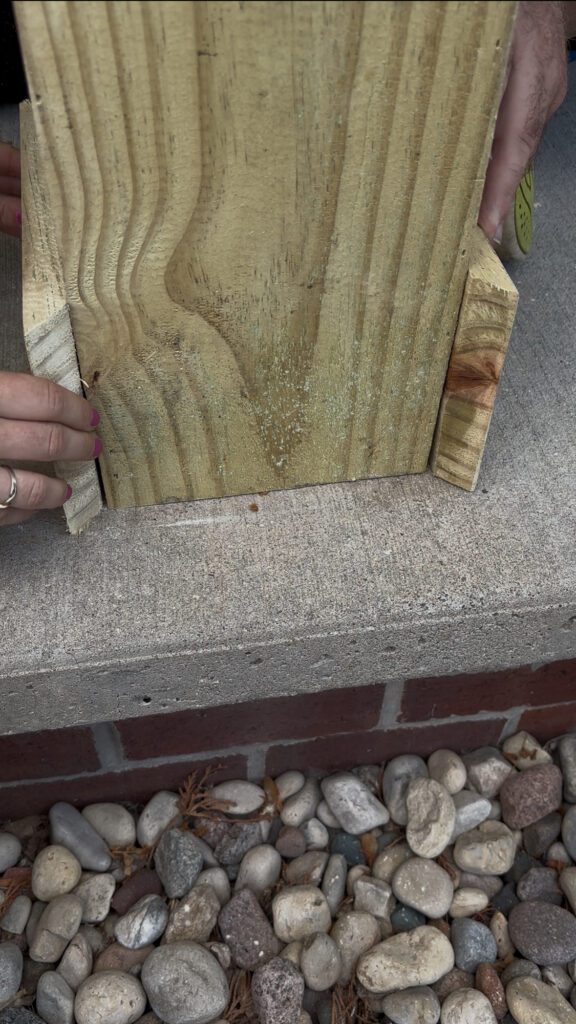


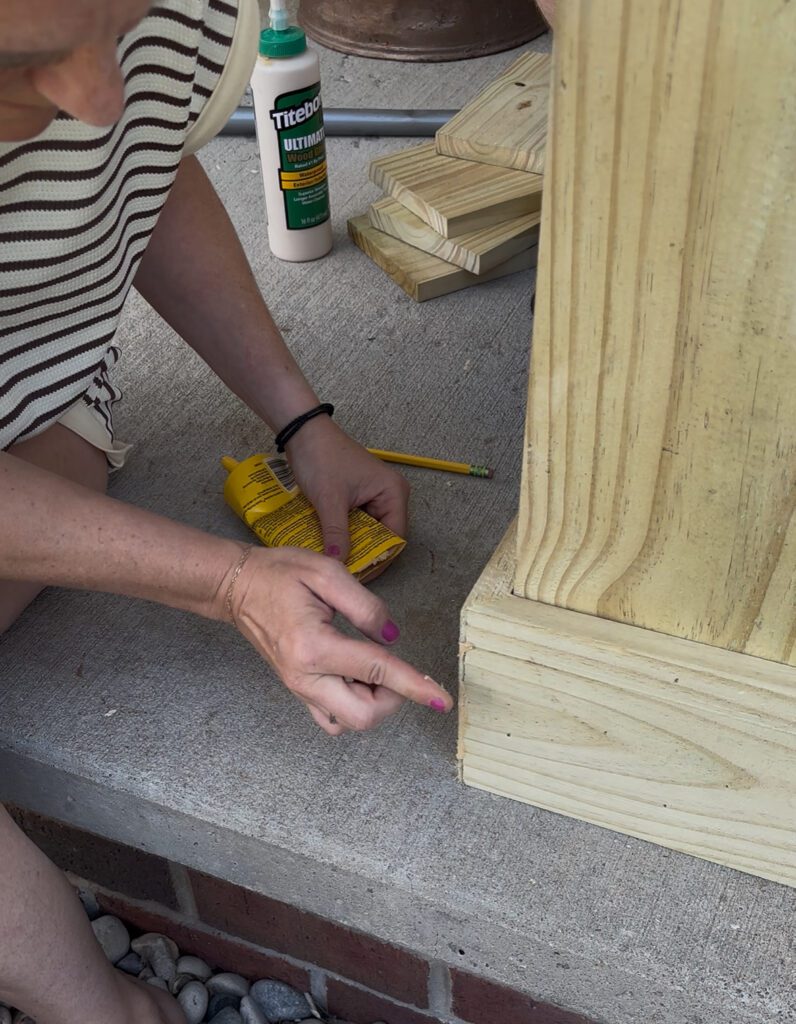
Let it dry. Sand it all down, I loved having a Ryobi Cordless Sander. I brushed off everything with a broom when I was done sanding.
We used Timberline semi-transparent with a brush. We could see the strokes but it was ok if we went with the grain of the wood. We did 2 coats. We plan on coating the whole thing in this Behr weatherproofing transparent coating soon (we did this on the shutters and it helped the stain and the wood stand up to the weather)


Lights
Since the porch was updated, I felt it was time to update our lights as well. We needed 5. I found a lot of 2 packs, but we needed an odd number so when I found these really cool ones that came in 2 packs (but also were sold individually) that had also had OUTLETS it was a perfect fit.
Turn off the power, disconnect old, connect new, turn power back on.


Bulbs & Flag
We like to change our lights out seasonally so instead of having multiple bulbs we stored year to year, we found these Daybetter Smart Bulbs that can be color changed and timing scheduled in the app and by Alexa. We have them come on a schedule (20 minutes before sunset-10:30pm).
We got this flag pole/unfurling set so that our flag doesn’t get tangled. We have a 2.5×4 flag. We have a solar uplight shining on the flag.
Shutters

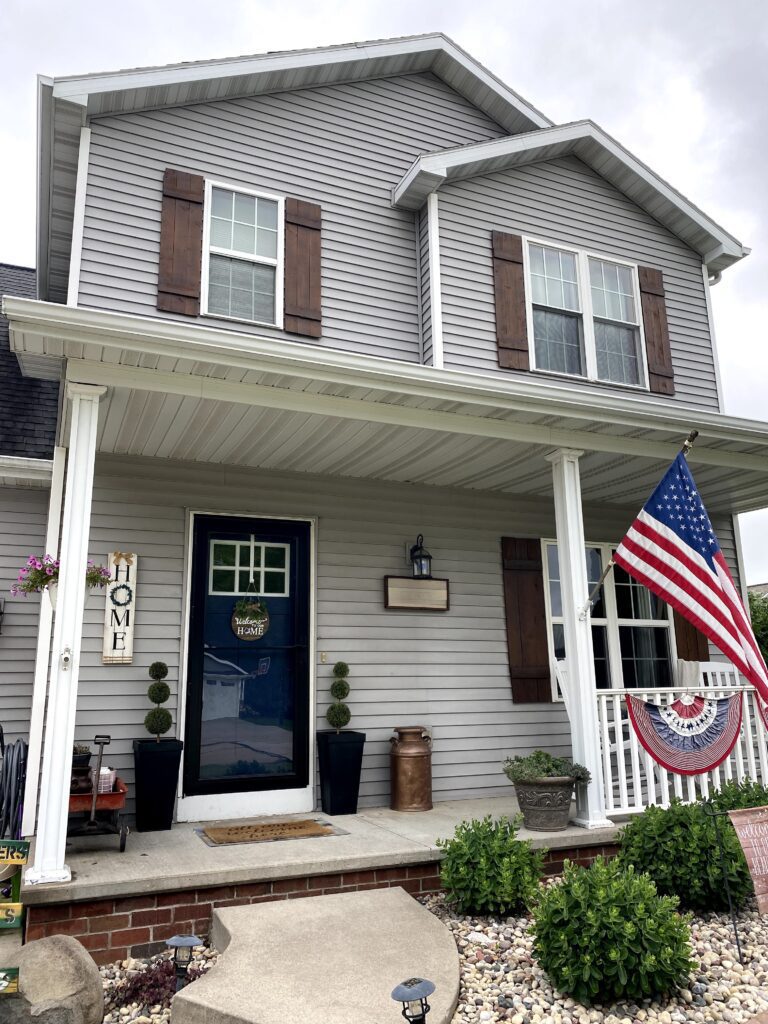
We had old tired plastic shutters. When we removed them, there was a sun line (our house is West facing) so we knew the new shutters had to be the same size if not a tad bigger.


We put outdoor caulk in the previous screw holes to make sure no water damage would happen behind the siding.
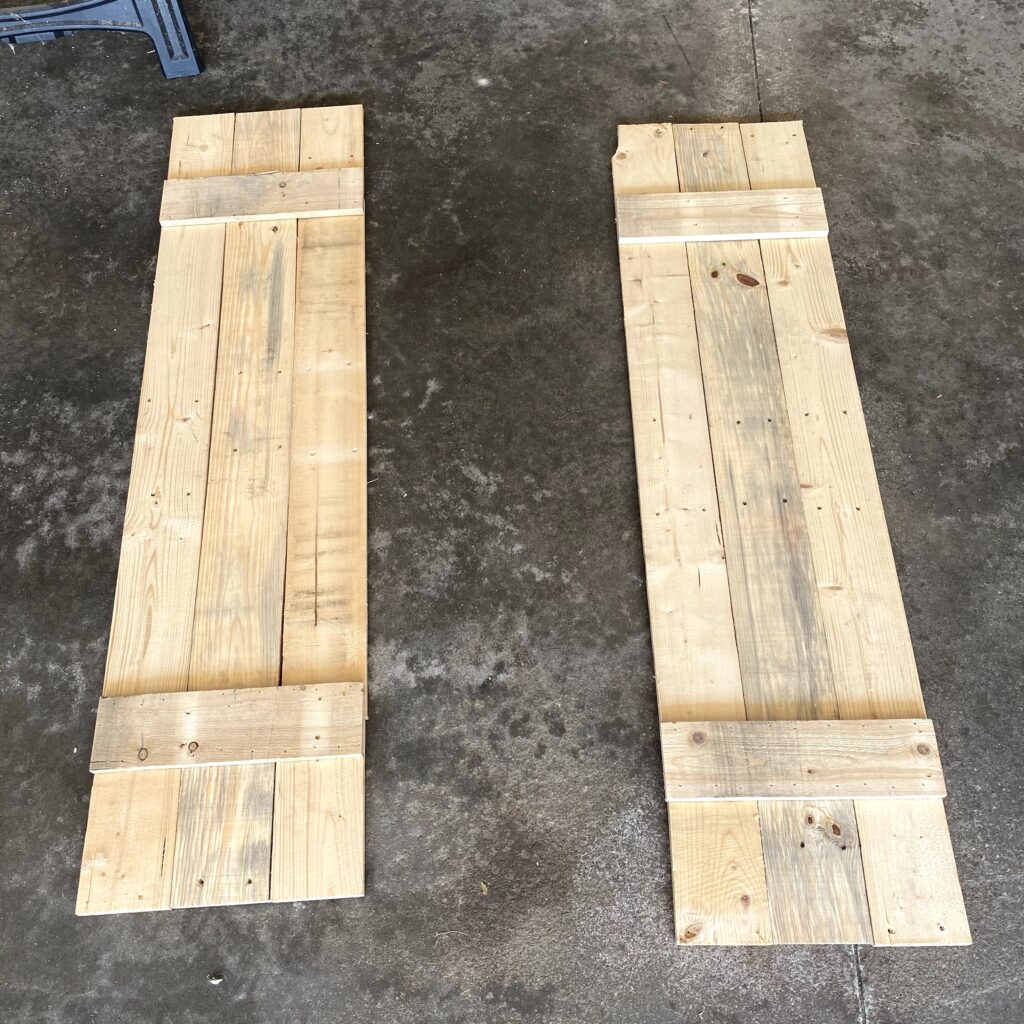
We had a pile of random pallets we broke apart for the wood. Because of the limited wood we were recycling, we had to get creative with the building of the shutters.

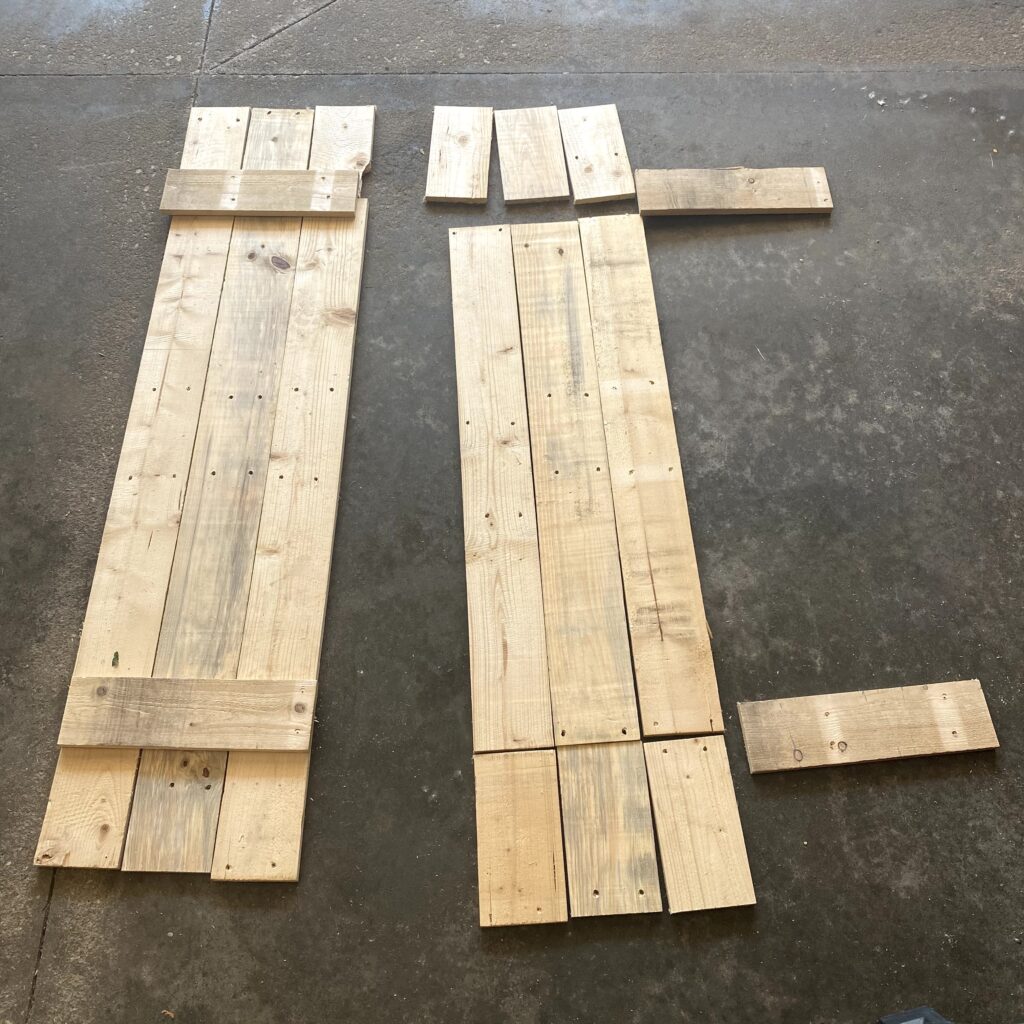

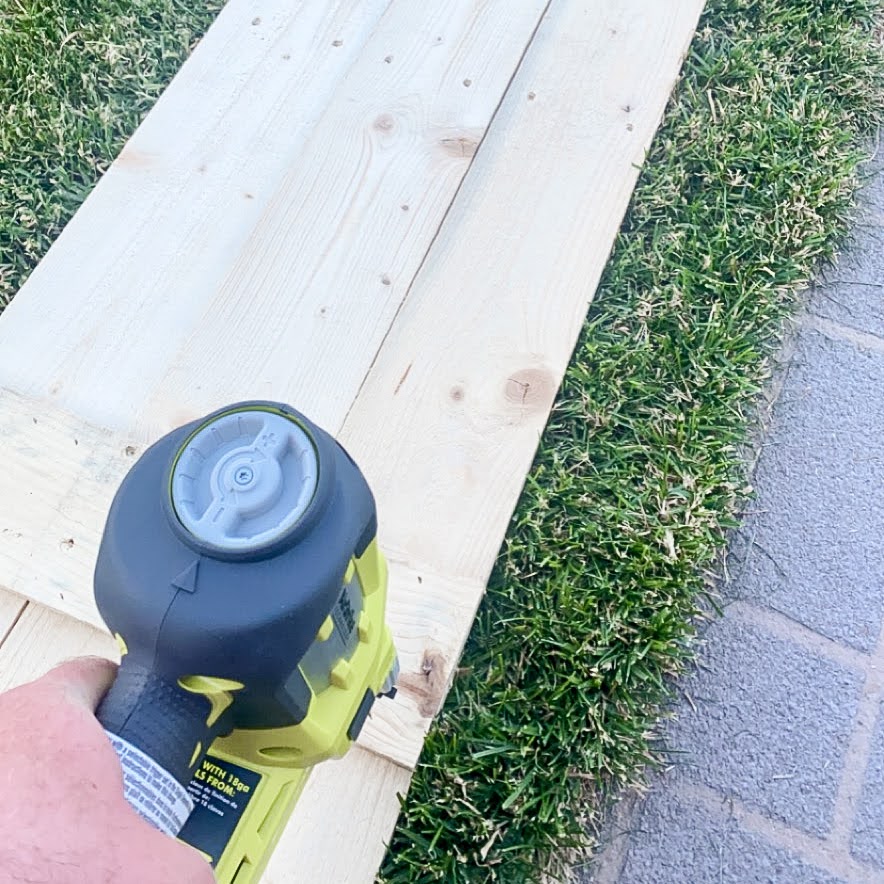
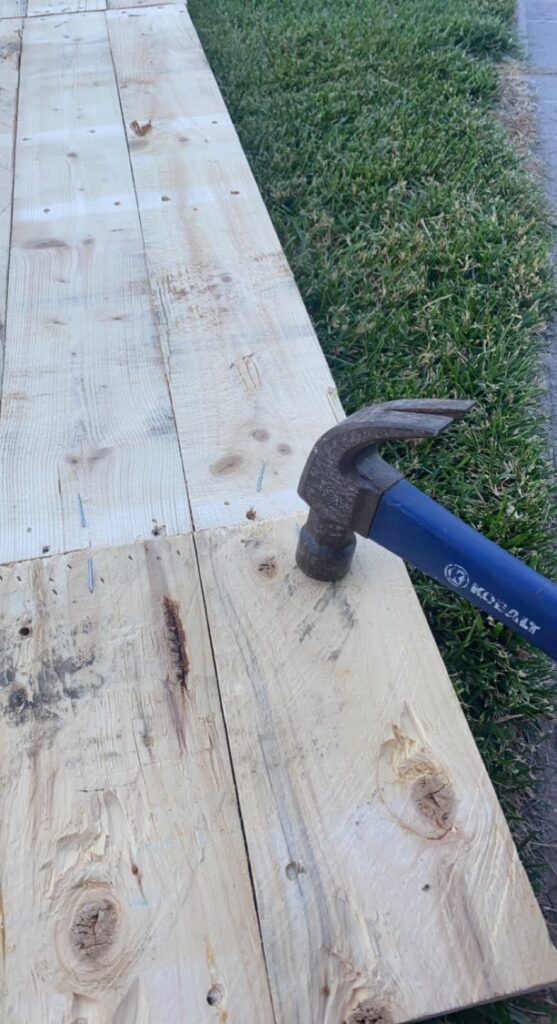
We laid them out to make sure they all measured and had all the right pieces. Then we Ryobi brad nailed and glued all the pieces together. The brad nails stuck out a bit in the back so we pounded them over. We found doing this in the grass allowed the nails to go through as they needed (on the cement, they were hitting the cement and not going all the way in)
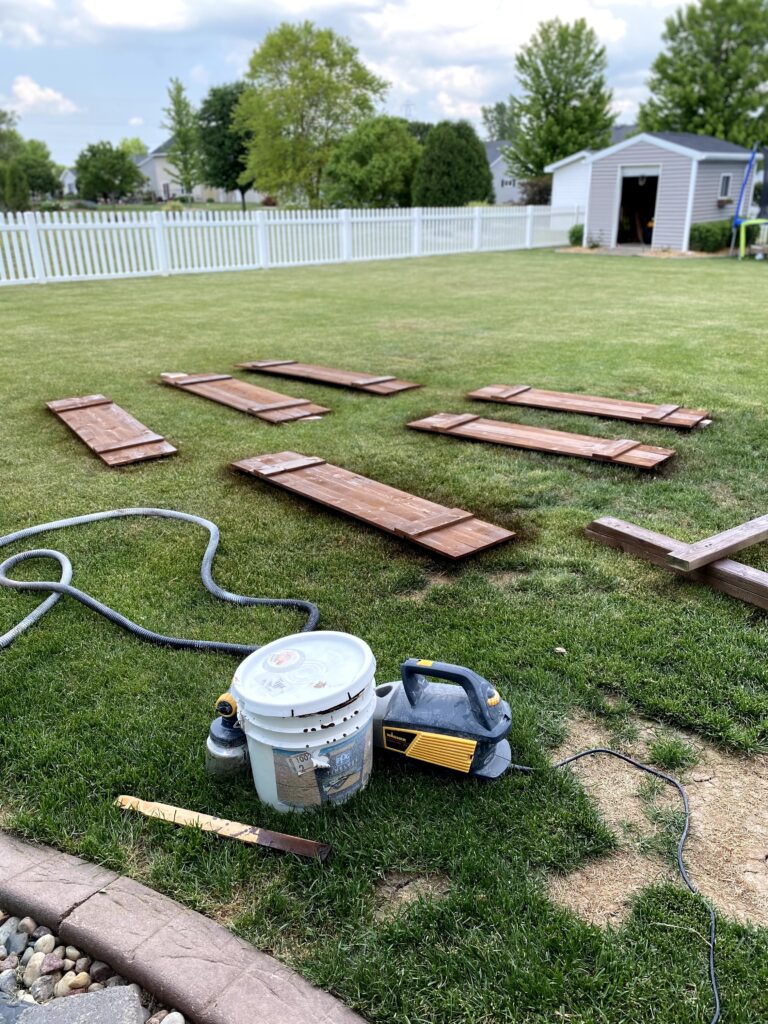
Using my Wagner Sprayer, I sprayed with the Timberline Stain we had left over from staining the pergola and swing set.
Also using my Wagner Sprayer, I sprayed the waterproofing wood coating on top. **THIS DOES KILL THE GRASS. We learned this the hard way with dead squared sprayed into the lawn. Make sure to have it on some sort of tarp/drop cloth or not be on grass when using this.

Once dry, we screwed them directly into the side of the house.


You May Also Like

DIY EASY Faux Barn Wood Beam Mantle & Floating Shelves

Baby items we love

