DIY EASY Faux Barn Wood Beam Mantle & Floating Shelves
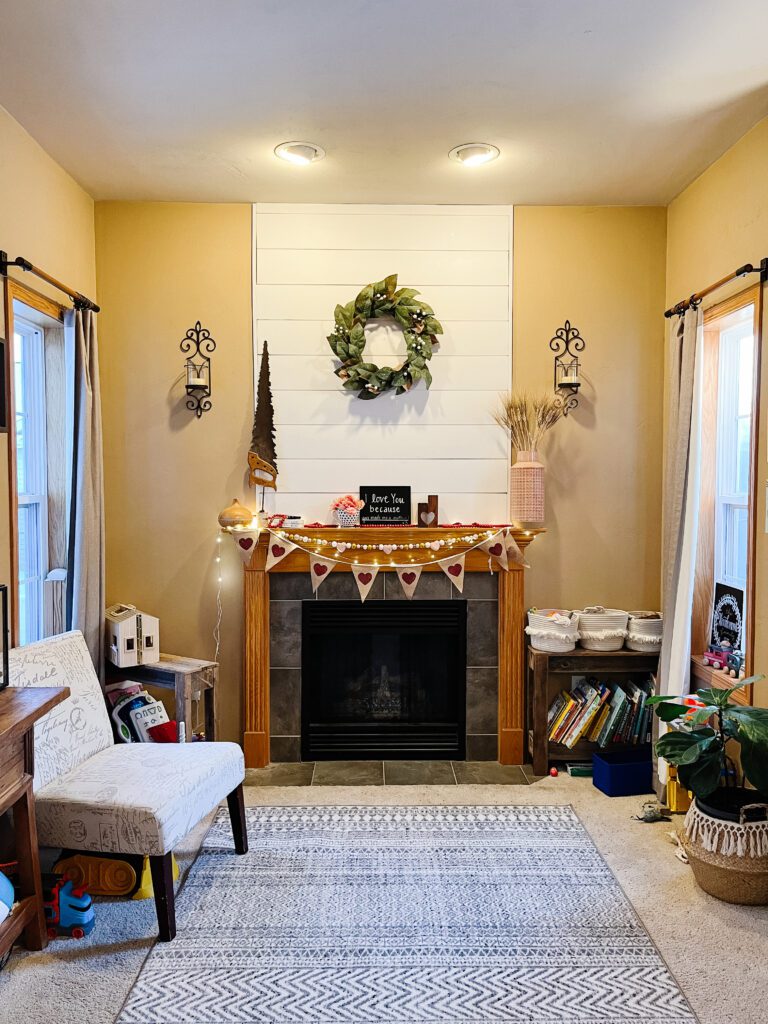
We DIY to create a new faux barn wood beam mantle cover & floating shelves to modernize and create a focal point wall. Our home was built in 2004. It is in good shape, but it is not up to current style. A lot of decorative trim. A lot of yellow wood and yellow paint. It was time for a change.
Updating Mantle Front
The first update was to the front of the fireplace face. This was for 2 reasons: 1 to make less cuts on our mantle bottom to make it flush, and 2, the trim was very 2004 specific.
- Remove trim. Ours was brad nailed in so I started with trying to wiggle it loose. Then I hit the piece of wood (I wasn’t saving it) with a hammer. I was avoiding the crow bar as much as possible to prevent damaging the wood I was leaving. I did need to use the crowbar and I put a wash cloth under it to avoid damage.


- Remove the brad nails. A hack is to use a channel lock that has a curved top, with the curve pointing down to the surface, pinch the nail and roll/curl the nail out of the hole.
- Sand. I was going to be painting so I had to stand the varnish and stain off the wood to allow the paint to adhere the best.
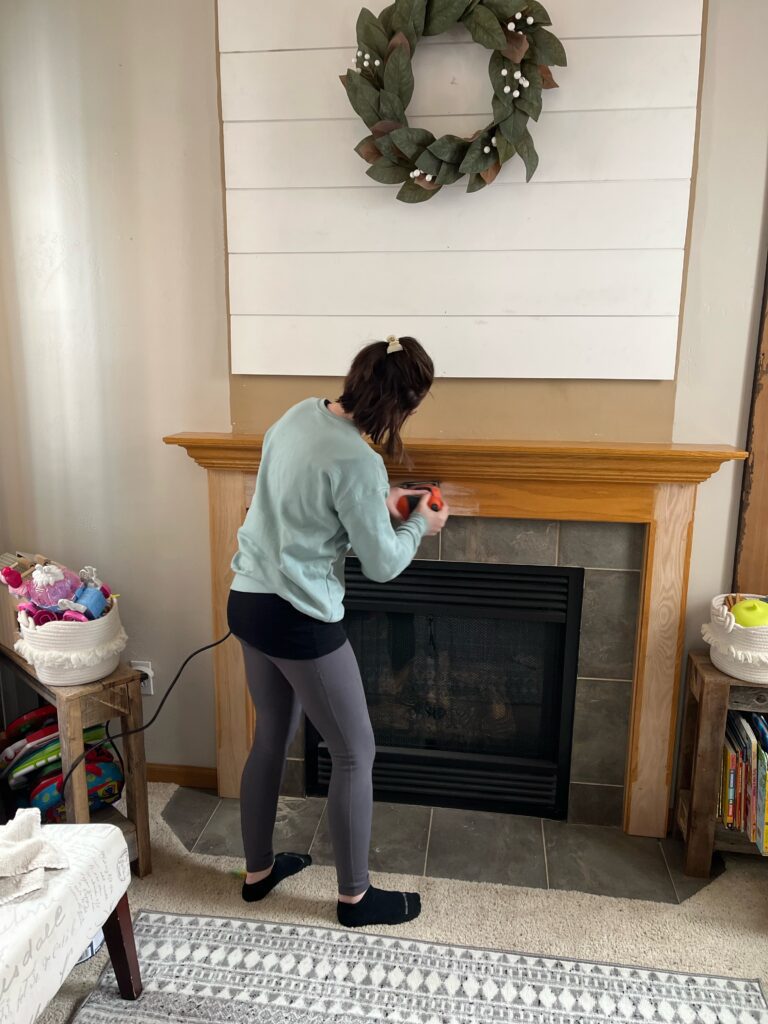
- Paint. I went with a satin to wipe it but not have it shiny. It is also scuff resistant. I used a foam roller to avoid brush lines or roller pick up.
- I also painted our walls. Our walls had A LOT of yellow and was afraid the wood would darken it up so we also updated the wall color. Many many many samples later, we arrived at our perfect Greige: Mocha Light from Behr. I used a Rough roller and edger brush.
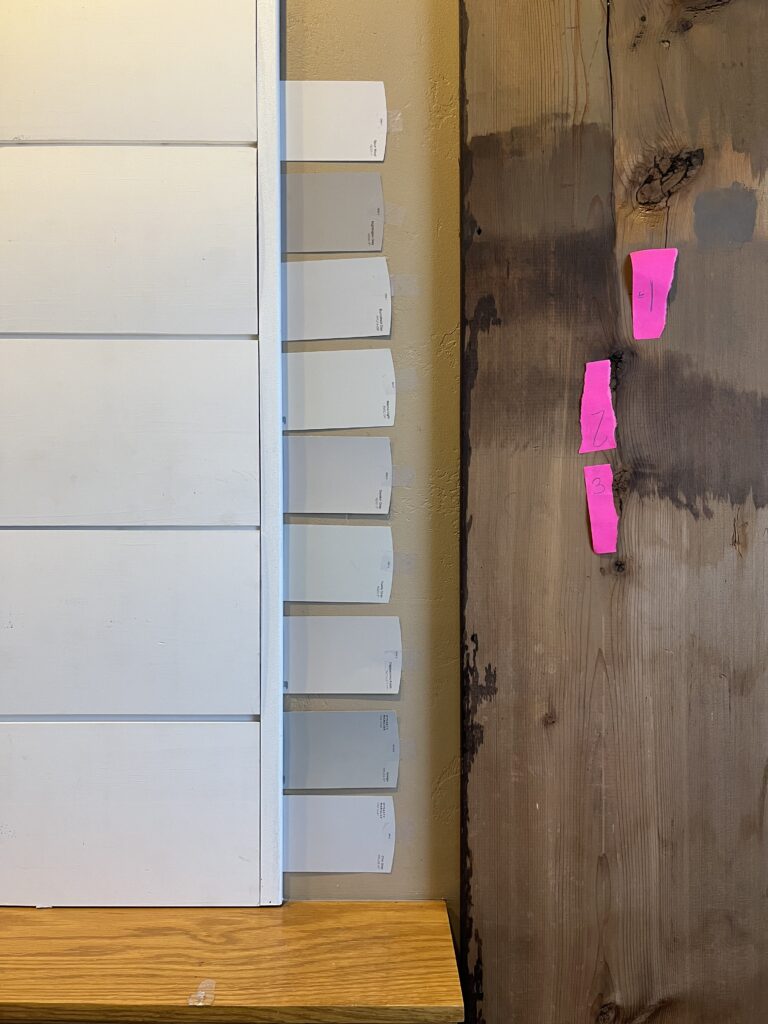
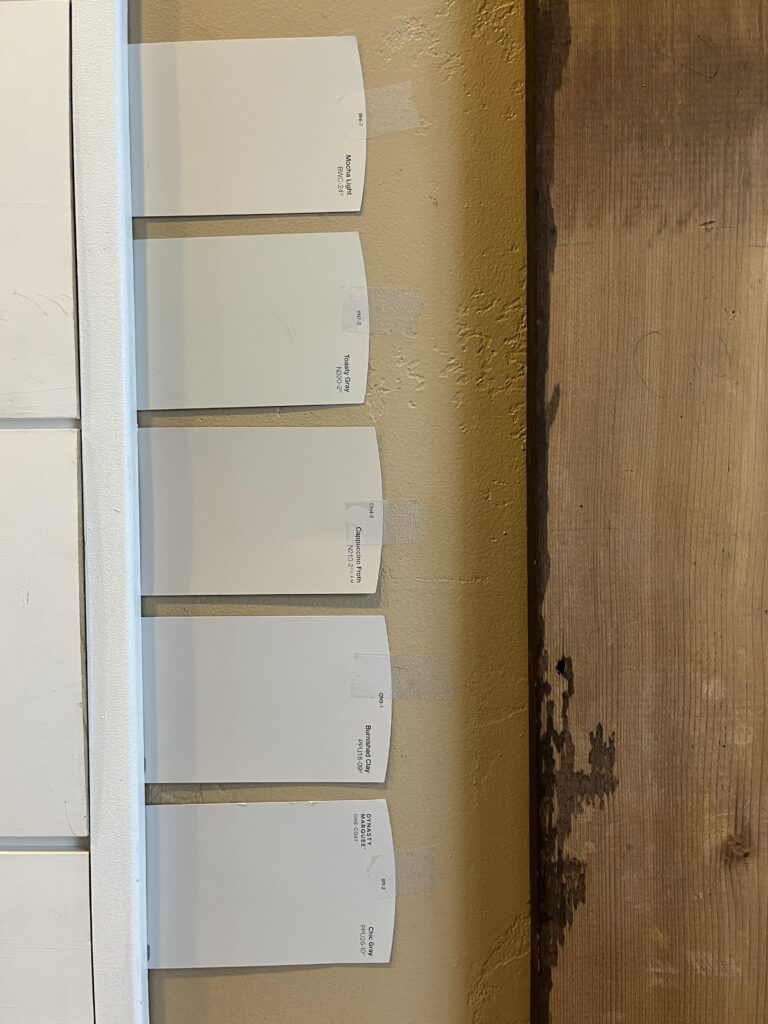
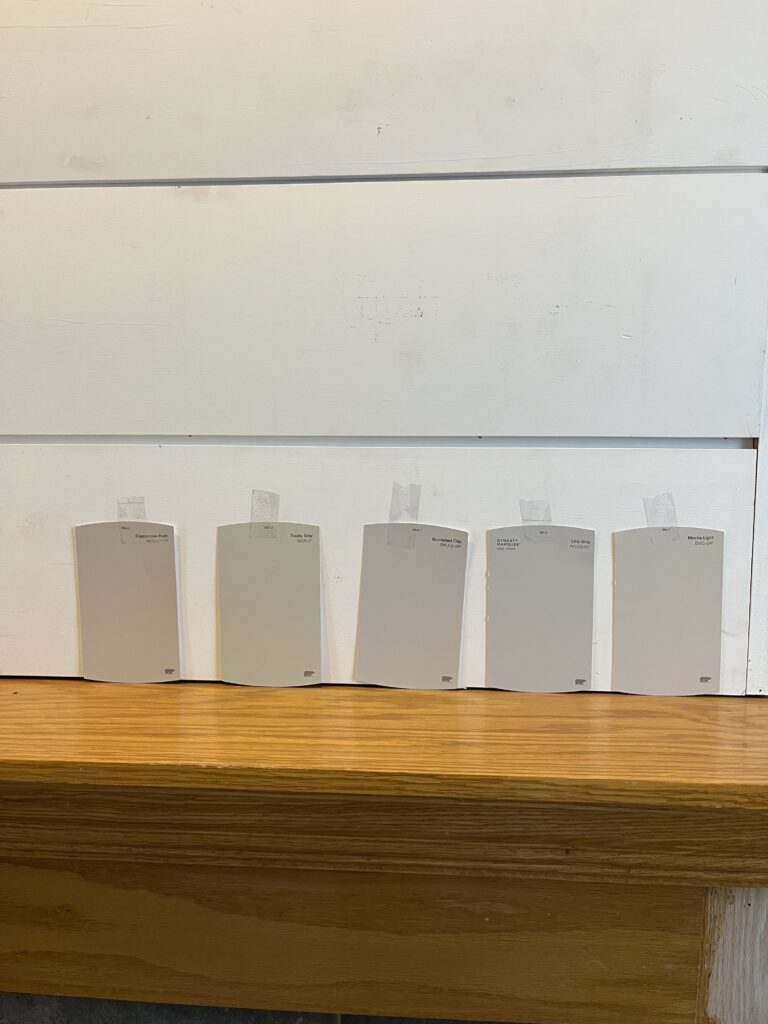
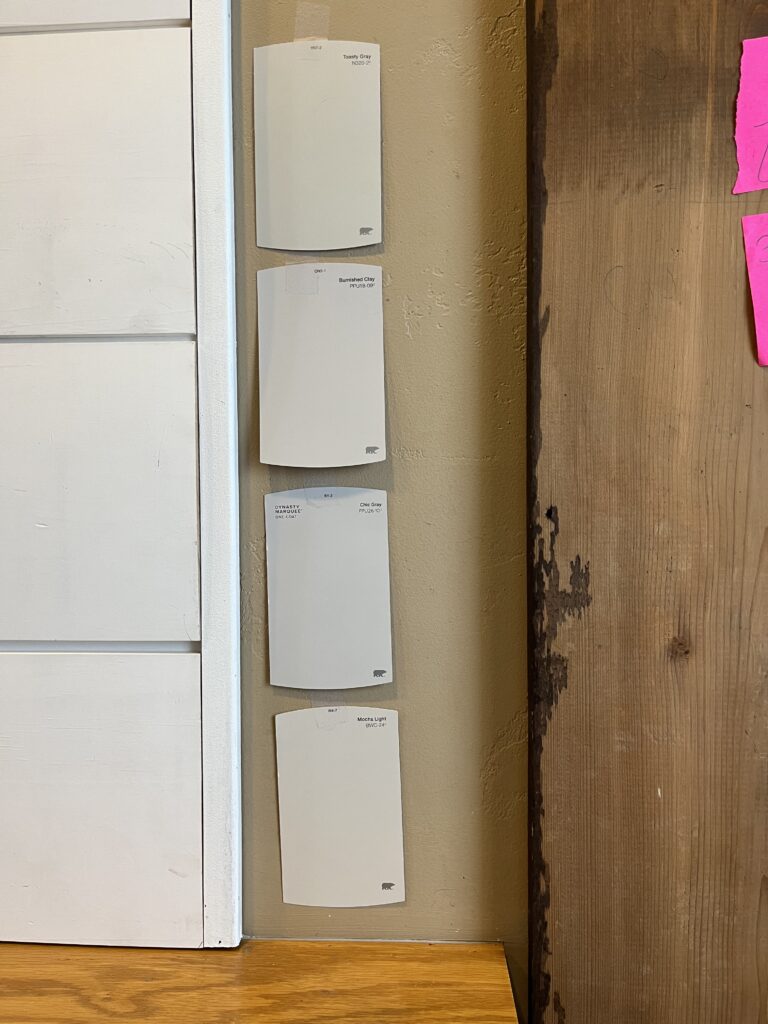
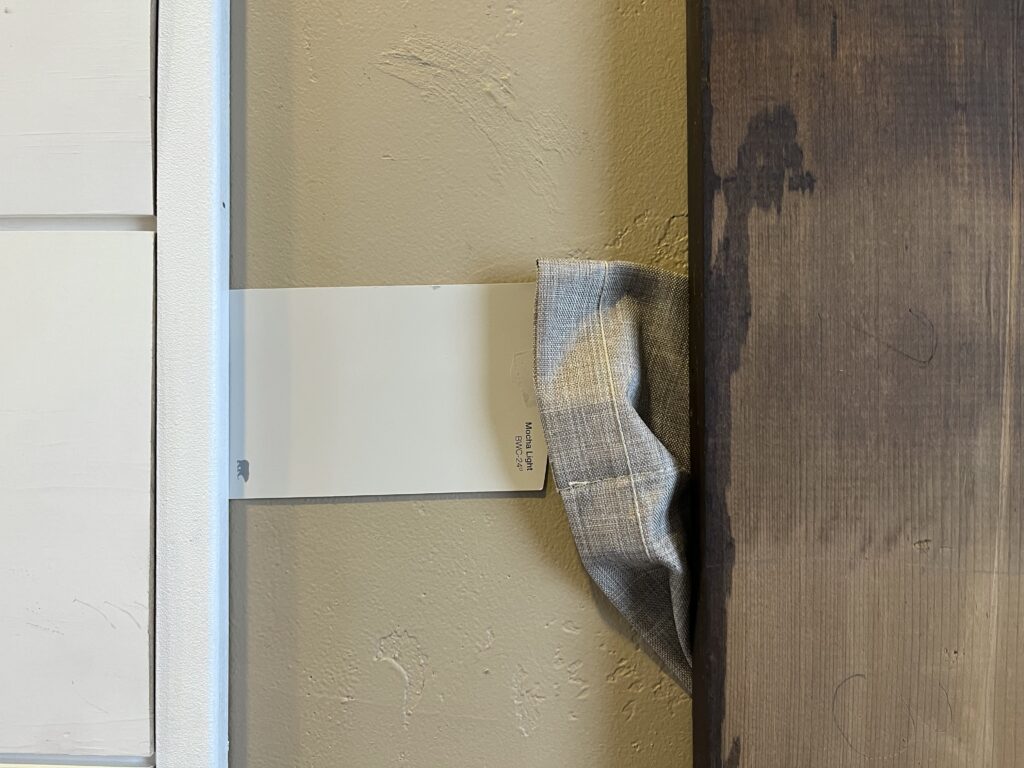
- Yes, this did transfer to painting our ENTIRE interior of our house as they are all the same color and as open concept it was hard to know when to stop.
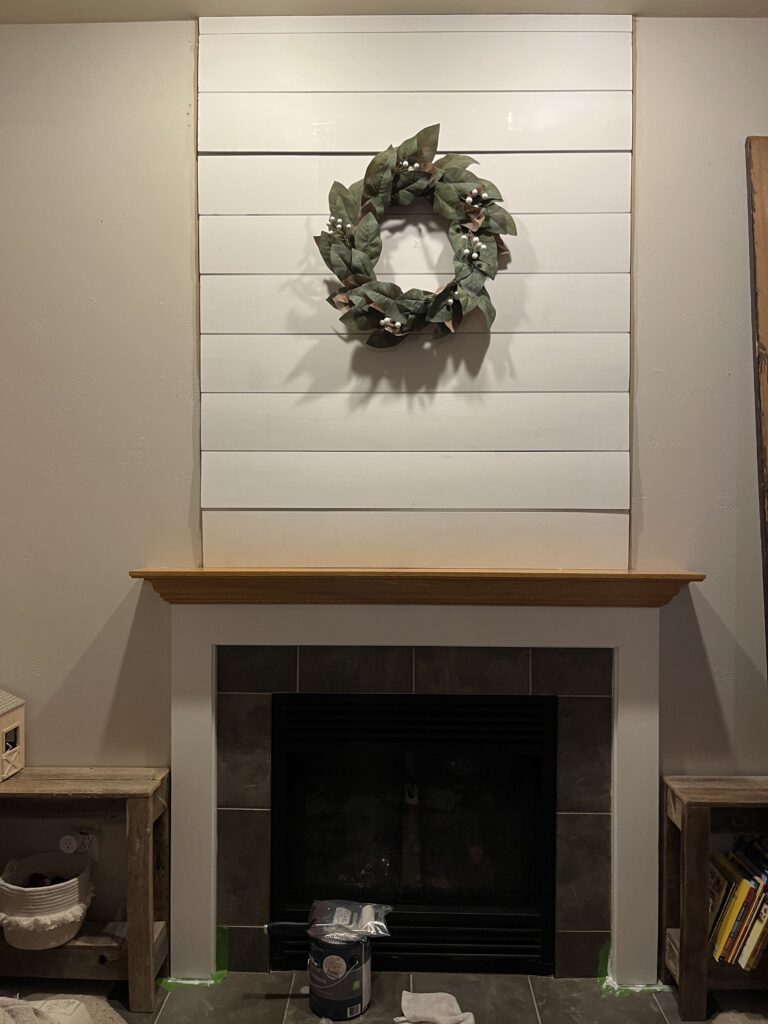
- We had previously installed shiplap. We had to remove the bottom piece to avoid having to notch the top piece of the mantle. If you were going to install Shiplap, this would be done AFTER the mantle.
Shop the Supplies

Faux Barn Wood Beam Mantle Box
- Measure how big the opening of your box has to be. That is key, making sure the box is big enough.
- Our current mantle was 61 1/4 long x 6 deep x 4 thick to cover all the trim.
- Measure the wood to cover the width of the wood you are putting over your box.
- Our wood was 1″ thick so we cut 63 1/2 x 7 deep (that is how big we wanted it) x 6 tall
- Cut the wood at 45* to have no seams. On the top you will leave the back 90*, the long and the two short sides at 45*. They should all angle towards your box (the inside is the smaller piece)
- We forgot to do the small sides at 45* before gluing and nailing so we have seams on our sides.
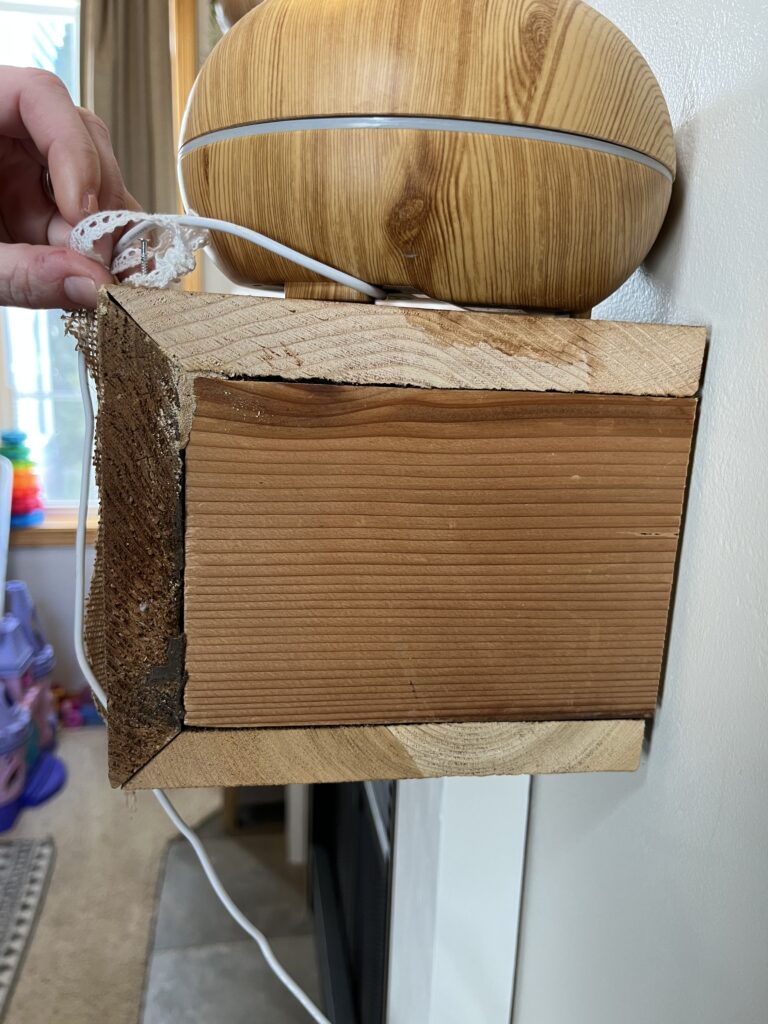
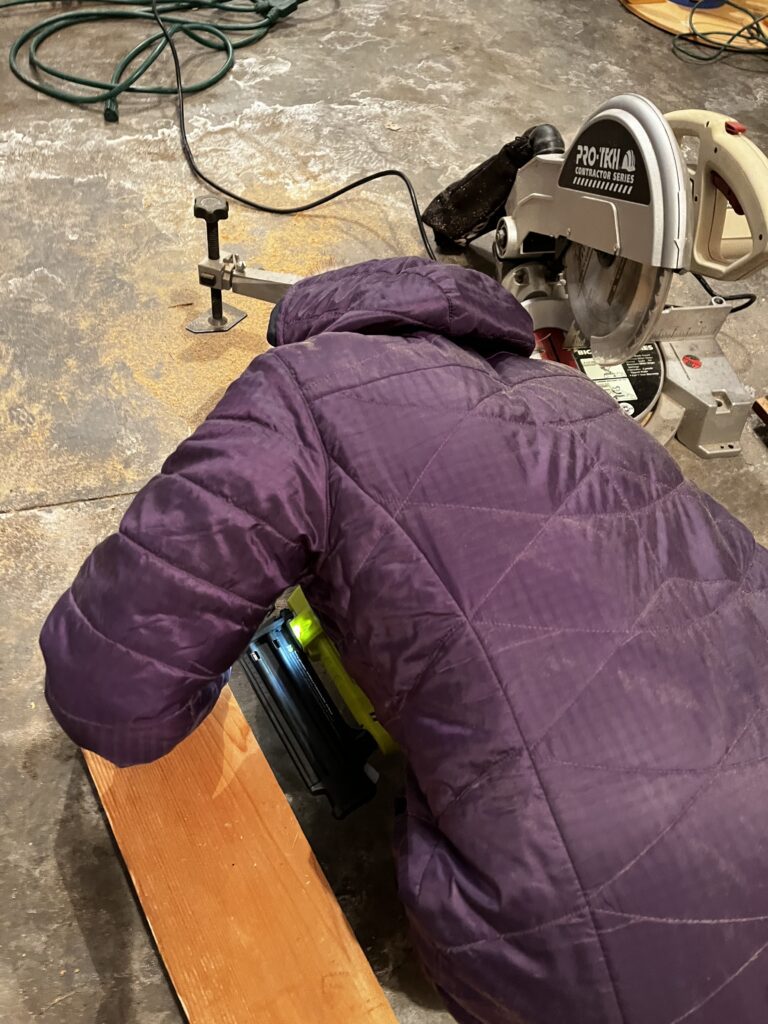
- Using wood glue and brad nails, attach the pieces together.
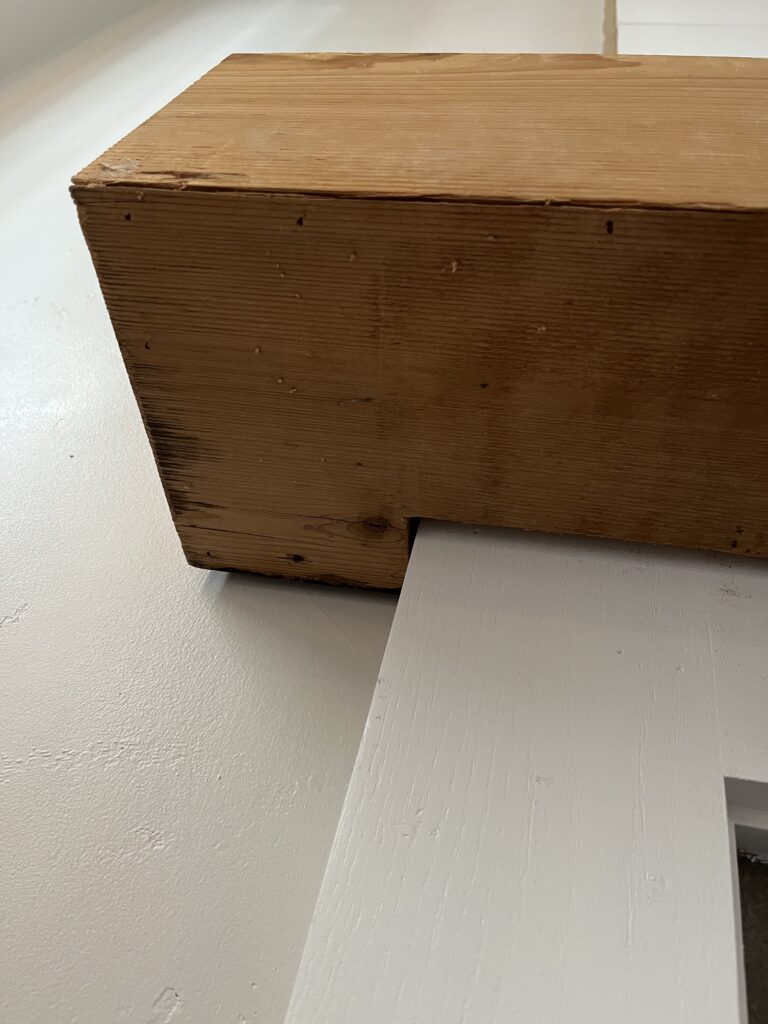
- Slide the mantle cover on the old.
- If you have woodwork going down the sides (like we do) we had to notch out the bottom, to allow the sides to go to the wall.
- If you are going to stain, stain now, on the ground. I would stain on the ground allowing to not have to be “as careful”
- Once desired color/sealant, mount to the old mantle. Slide the box on, brad nail the new mantle into the existing.

Shop the Supplies
Shelve Mount
I wanted the shelves to be floating. I did a quick Pinterest search and saved many tutorials and they were all basically the same. Build a mount, put it in the studs, build a box for the top.
- Cut the back base to the length you would like the inside box to be for your shelf. Remember to take into account the thickness of the wood for total shelf length. We used a 1×2.
- We wanted our shelves to be 29″ Our wood was just under an inch thick so we cut our back base to 26.5″ to give us some wiggle room.
- Cut the legs taking into account the thickness of the mounted piece and the thickness of the wood.
- We wanted our shelves to be 6″ Our wood is about 1″ and our mount was about 1″ That means our legs were 4″
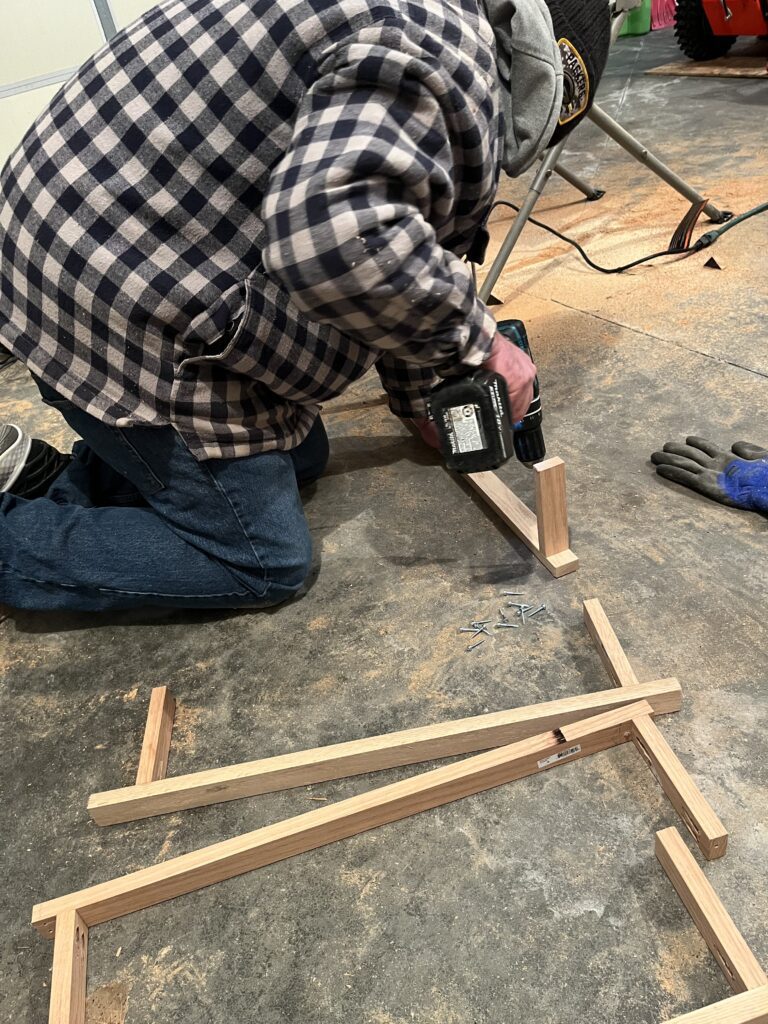
- Using a pocket hole drill, we put a pocket hole in each of the small legs.
- We made our legs as C because we wont have a lot of weight and the wood was not heavy.
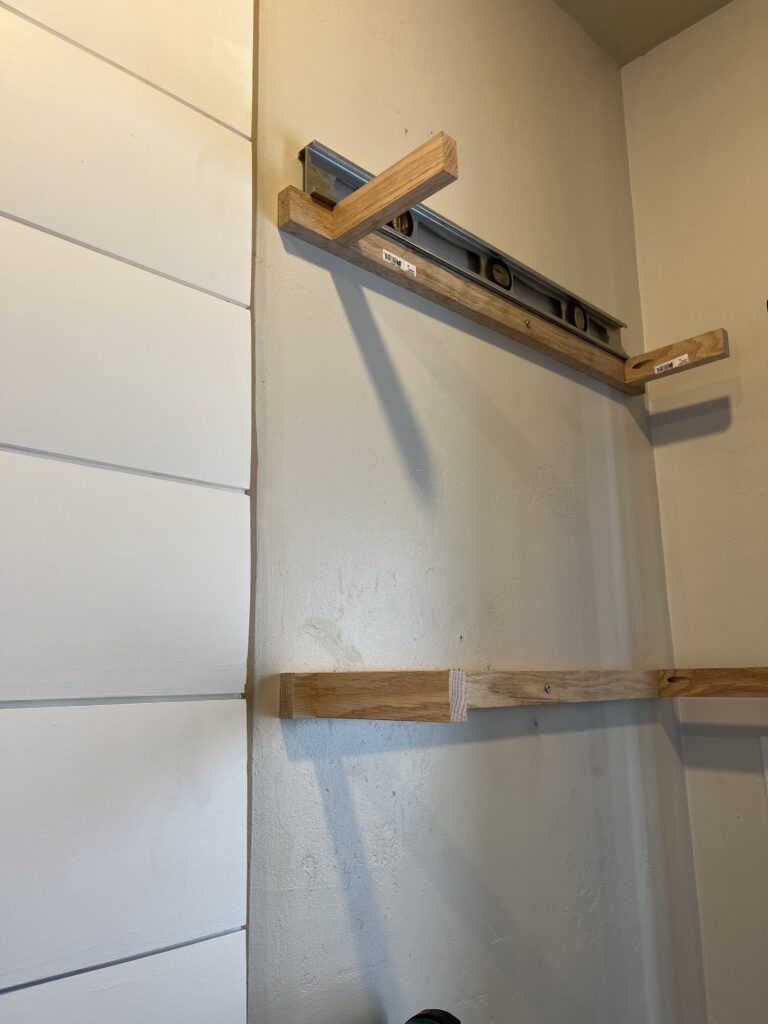
- We mounted our mount to the stud.
- There was only 1 stud in the length of this board and if only having that one screw, it would spin like a center of a propeller. We put 2 more screws in to prevent the spinning
Shop the Supplies
Floating Shelves
We originally planned on doing the shelves in the same fashion as the mantle, with 45* cuts to avoid the sight of seems, but once we realized the small size of many of our boards, we didn’t want to use the table saw with that size pieces so we went with seamed boxes.
- Measure how big the opening of your box has to be. That is key, making sure the box is big enough.
- Our mount was 26 1/2″ long x 6″ deep x 2″
- Figure out where you would like to have the face/no seams, and where you would like your seams to show up.
- We decided to have the seems on top and bottom as the front and the sides would be most seen.
- Measure the inside wood to fit right over the box.
- top and bottom 27″ x 5 1/4″
- Measure the face pieces last taking into account of the wood thickness.
- sides take into account the top and bottom 5 1/4″ deep, but 3 1/2″ tall
- Finally the face plate: 3 1/2″ tall x 29″ long
- Using wood glue and brad nails, assemble box in the same order you figured sides.
- top and bottom
- sides outside the top and bottom
- Front face

Shop the Supplies
Before and After. I love the look and think it was totally worth it. Time wise, this took us one full day. I had the wall painting done and the trim removed prior. All together, this project (if only painting that wall) would take about 2 full days.


You May Also Like

Lakeshore Learning Back to School Sale 2023

Toddler and Autism safety for the home

