DIY Ottoman Breakfast Tray to Coffee Table
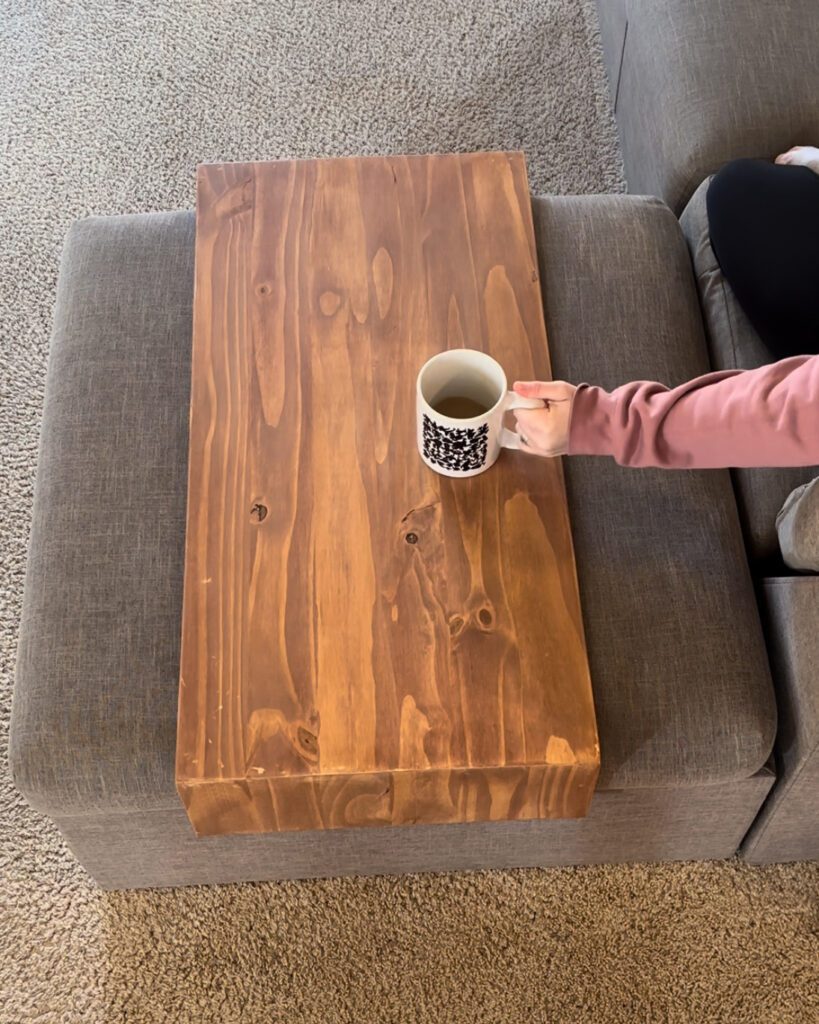
We FINALLY felt ready to enter our coffee table era–but we didn’t have a lot of room. We decided to use our ottoman from our Home Reserve couch as the base and get a breakfast tray. That being said, they were HUNDREDS of dollars. We decided to make one.
Materials

- Hardwood Edge Glued Panel (21/32 in. x 18 in. x 4 ft.)
- Measuring tools
- Square
- Saw (Sliding Compound Miter saw is ideal)
- Electric Sander
- 60 Grit Sandpaper
- Wood Glue
- Brad Nailer & Nails (we did 1.5″)
- Wood Filler
- Form to help with nailing/gluing
- Wood conditioner
- Wood Stain
- Wood Poly
- 400 Grit sandpaper
- damp cloth
Steps
- Measure surface putting tray over.
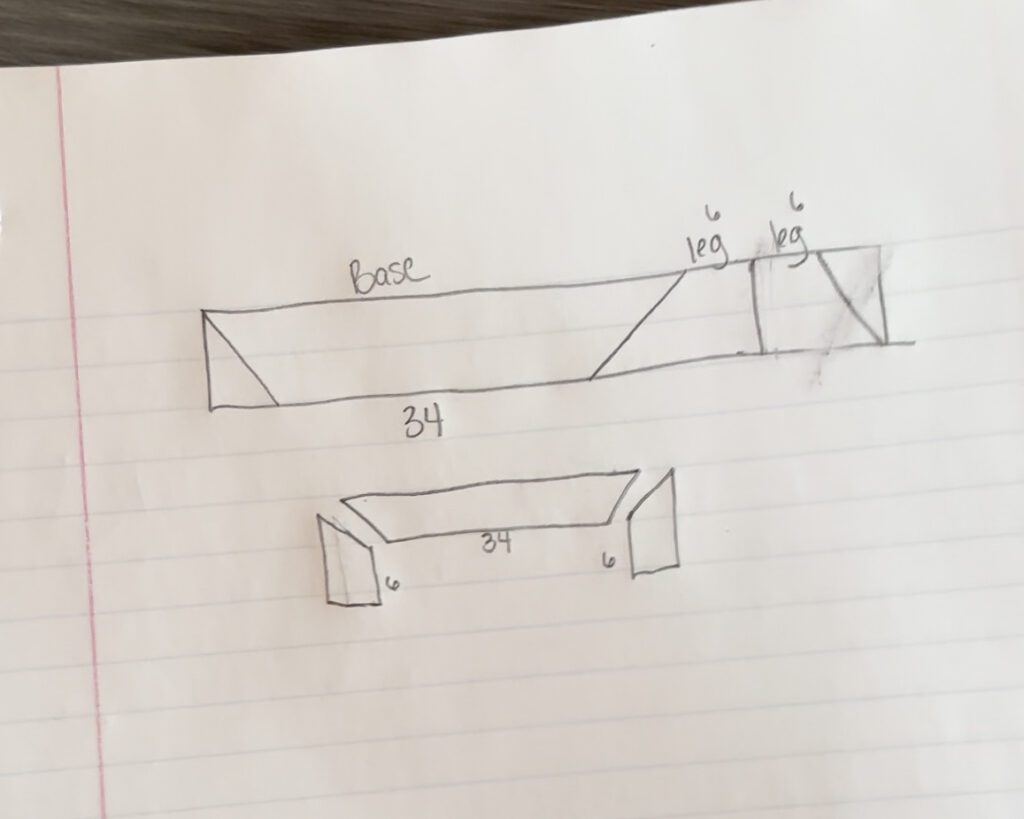
- Ours was 34″ so a 4ft board was plenty leaving approx 6″ for each “leg”
- Double check and draw out 45° angles for cut lines
- 45° off the end, short side length sitting on surface, 45° going the other way – making a trapezoid long size up.
- straight cut for bottom of legs, 45° for attaching side
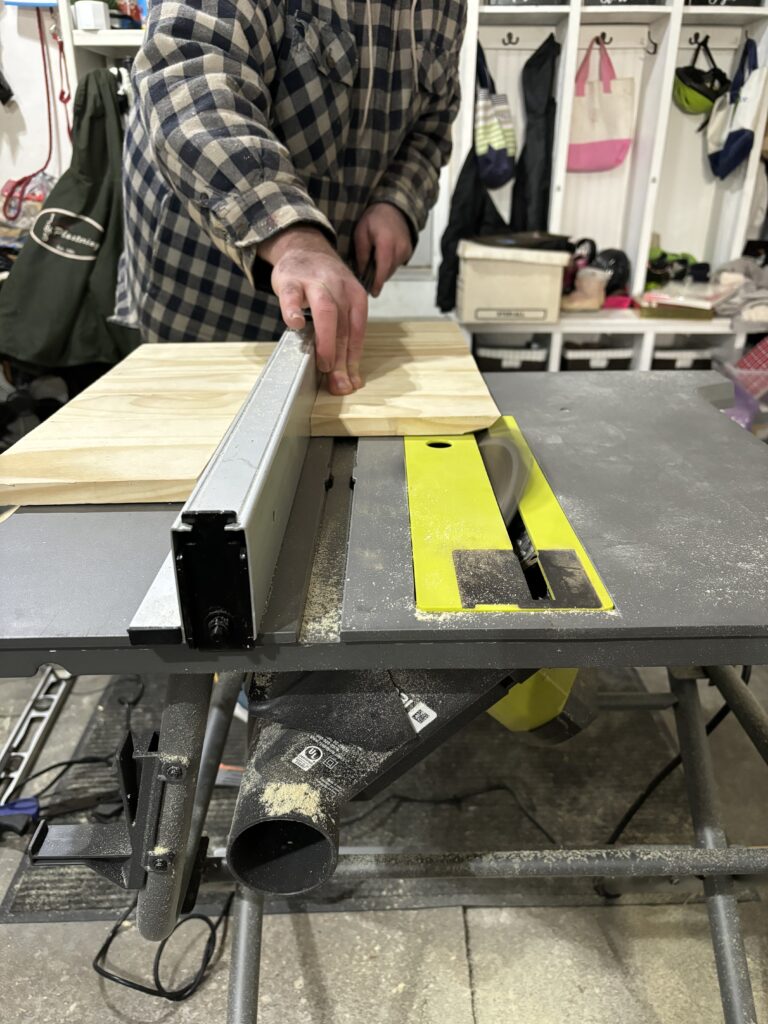
- Make cuts
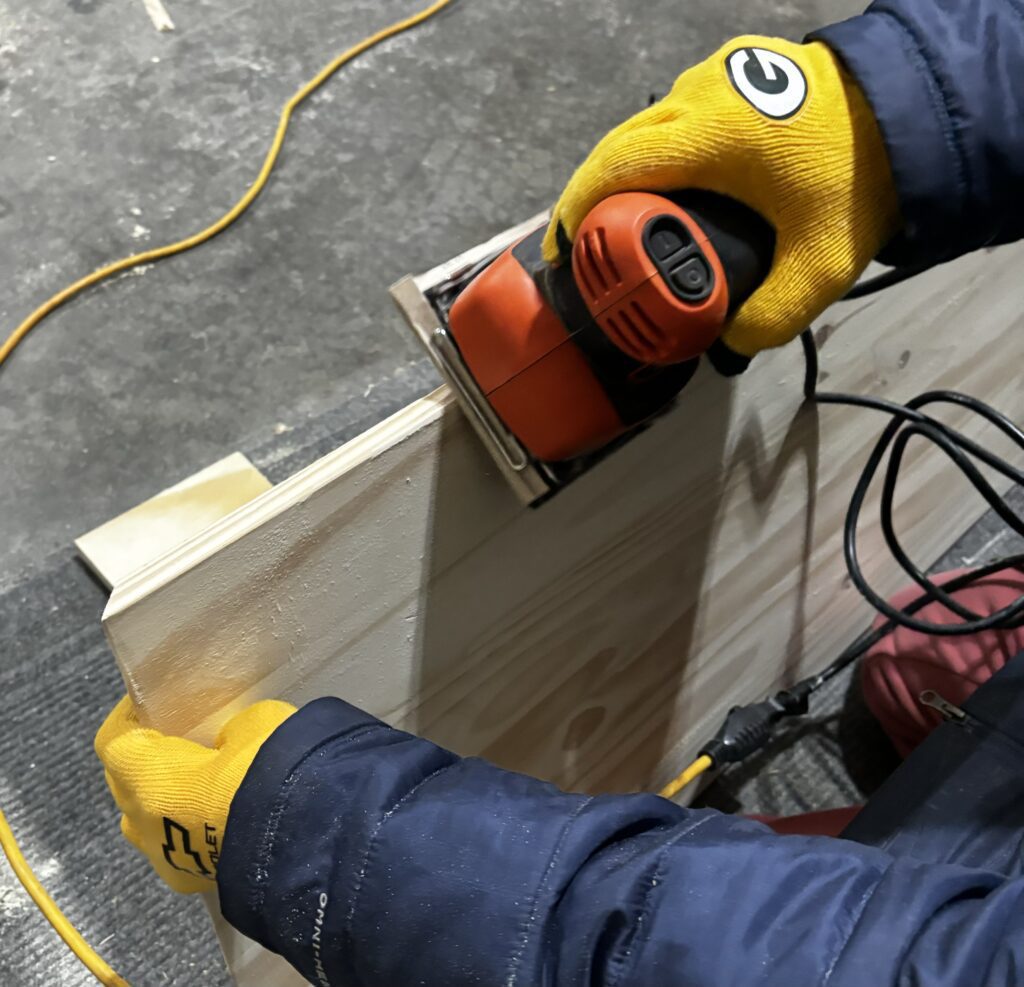
- Sand Smooth
- Sand corners (not 45°) to round edges
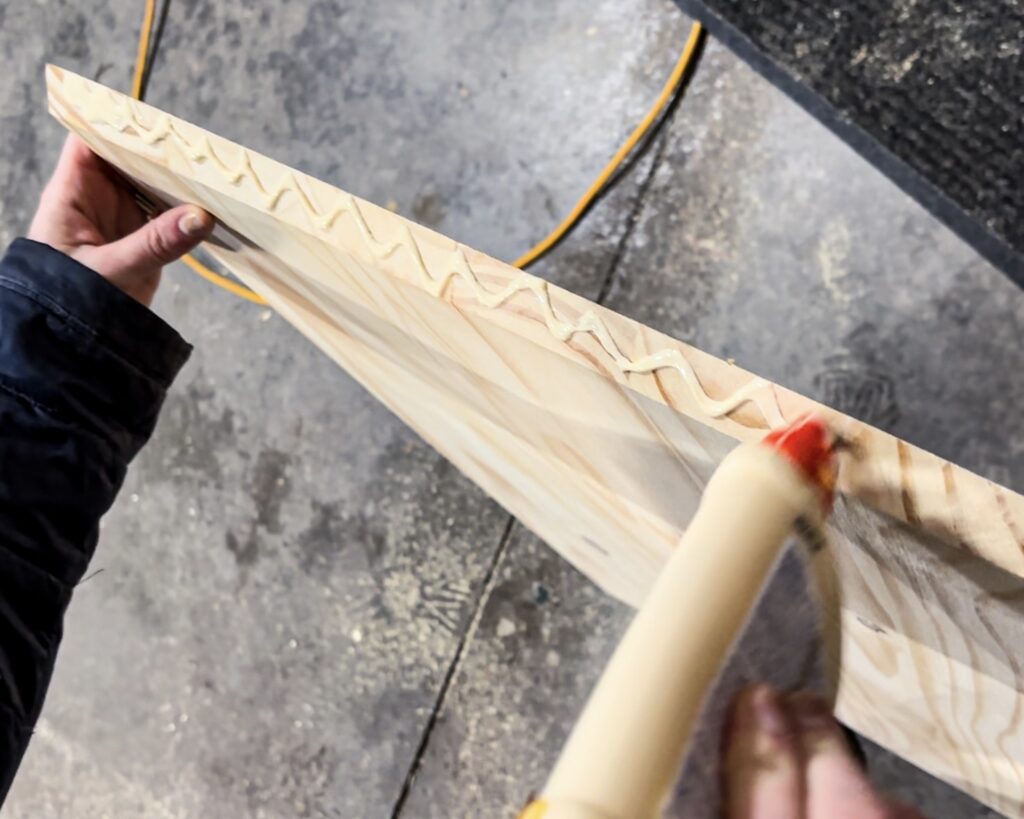
- Apply Wood Glue to 45°s
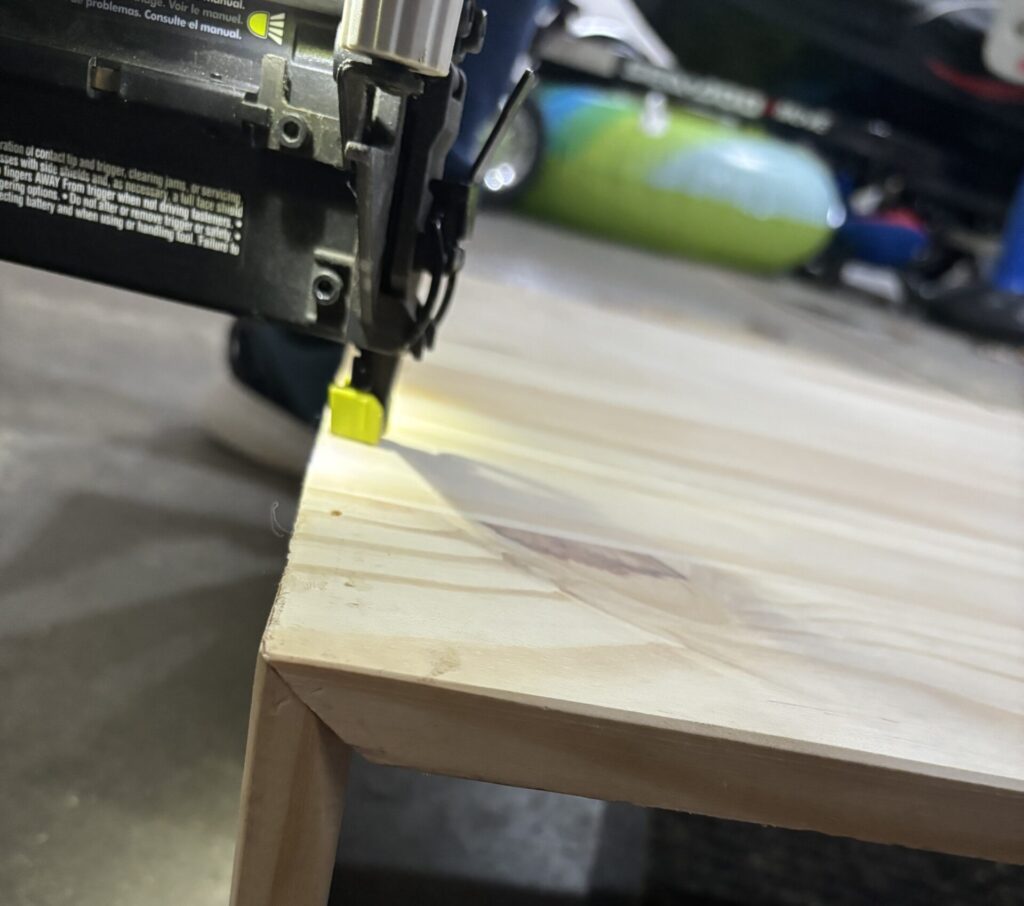
- Brad Nail 45°s
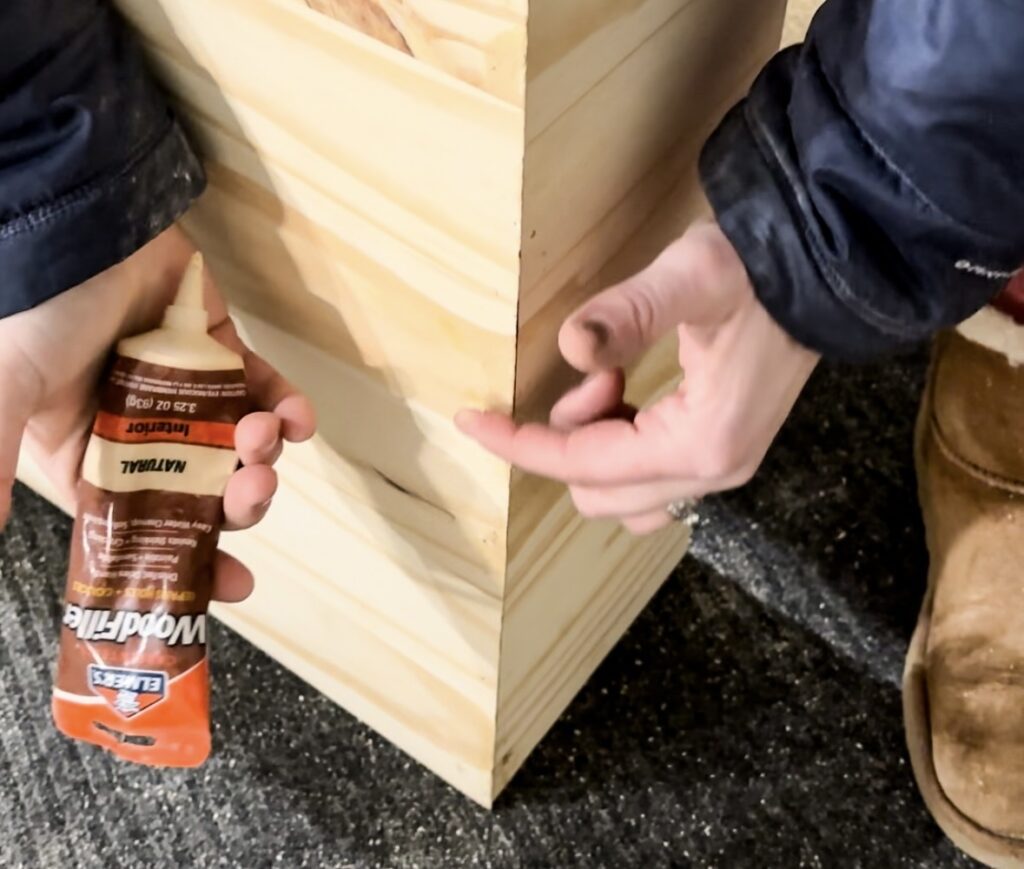
- Fill Brad Nail Holes with Wood Filler
- Let Dry completely
- Sand 45° meetups to round them, wood filler excess, and drips
- Using scrap wood, pick a stain color you want-if using conditioner, make sure you use that before stain samples strips too
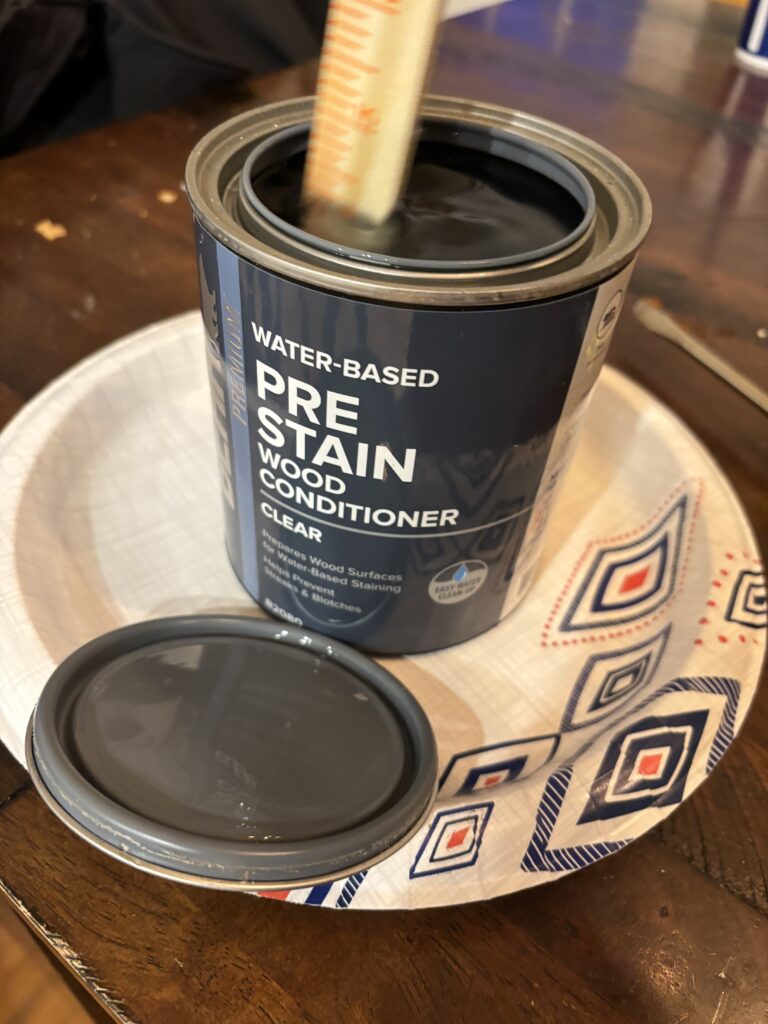
- Open, Stir, and Apply wood conditioner according to directions (I used cloth)
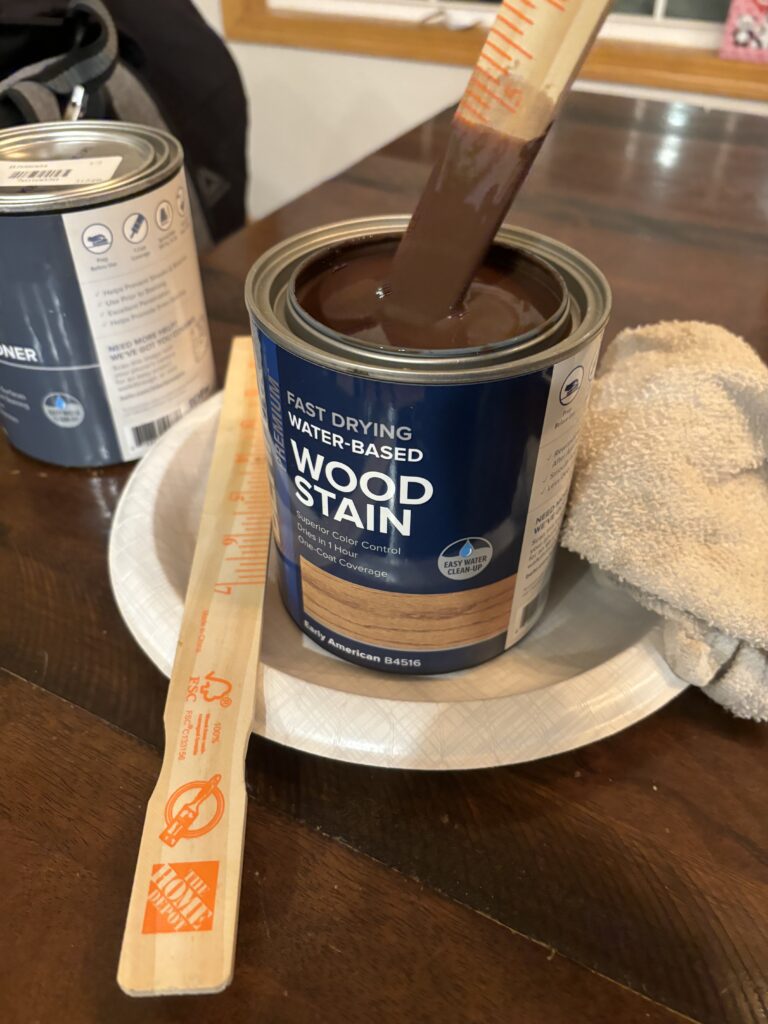
- Open, Stir, and Apply stain according to directions (I used cloth) as many times as desired for desired color (dry between)
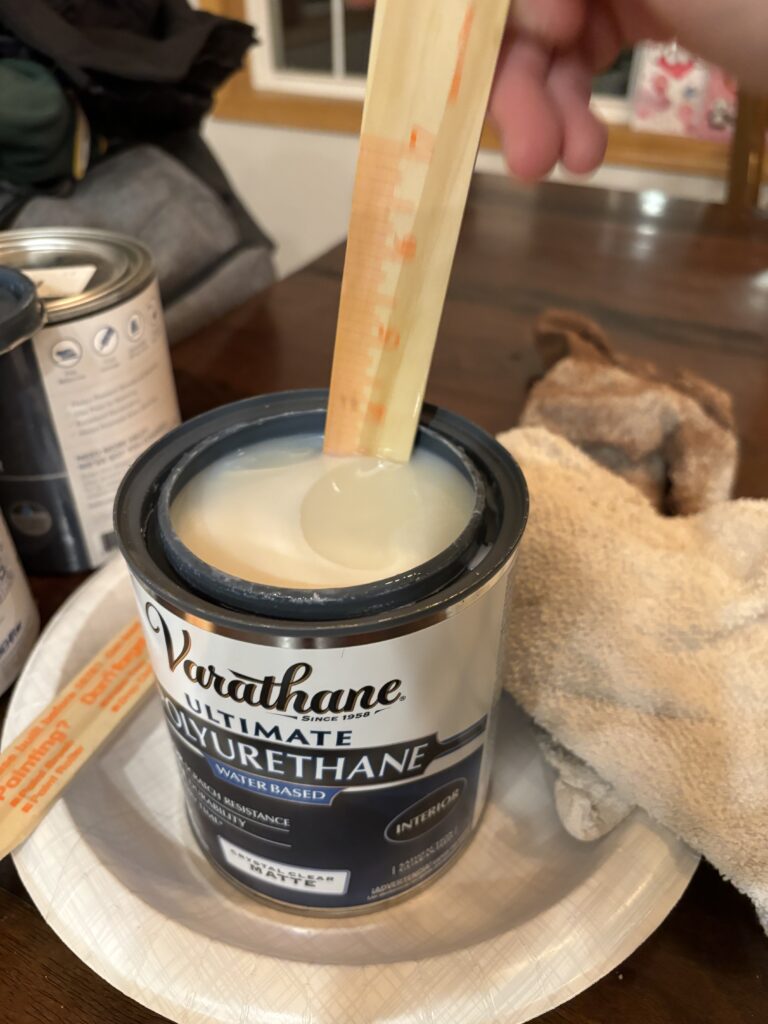
- Open, Stir, and Apply Poly according to directions (I used a foam brush first & wanted a much thicker coat so switched to brush)
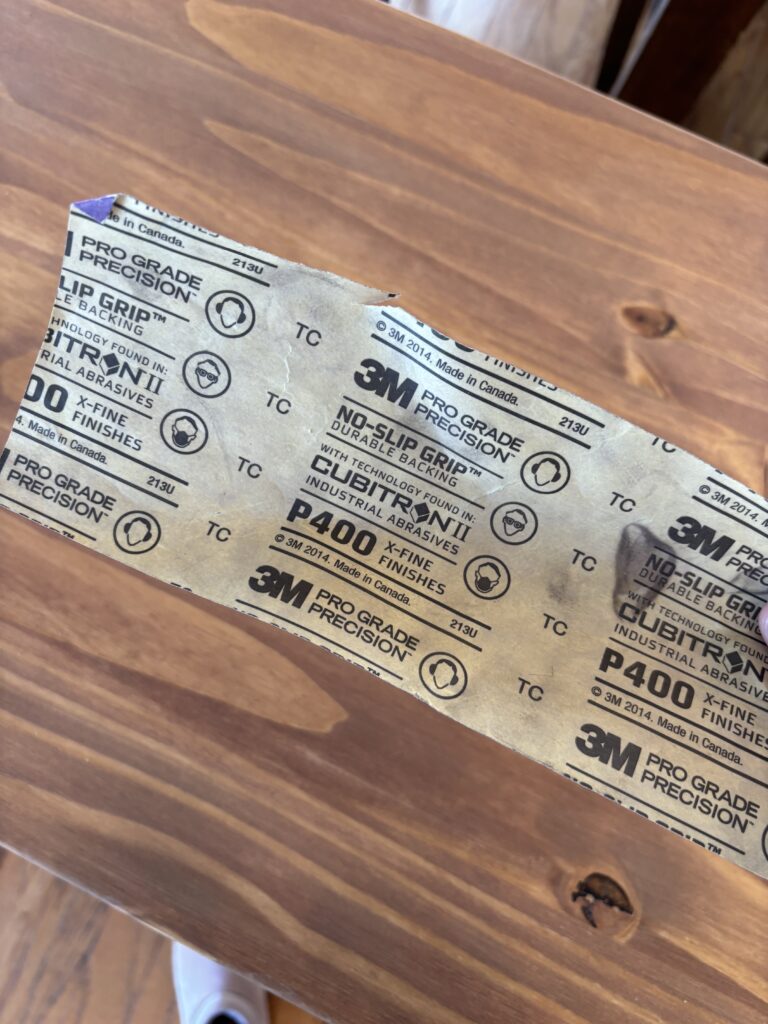
- Sand with 400 Grit sandpaper. Wipe all dust off with damp cloth. Let dry
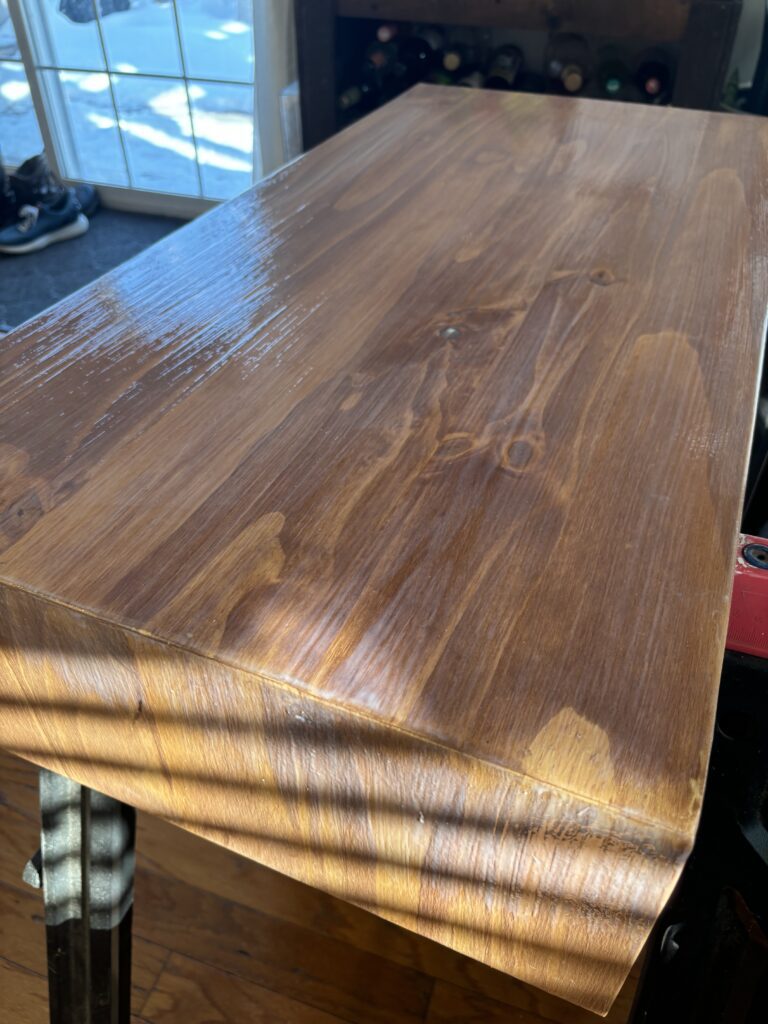
- Poly, Sand, Poly, Sand, Poly, Sand until desired thickness (we have 4 coats of poly)
Tips
- having something under the trapezoid and against legs to make a 90° angle for you can help glue/nail corners easier
- My wood GLUE was not stainable (filler was) and made the stain not have the look I wanted where some drips were. MAKE SURE TO SAND OFF ALL GLUE OFF THE STAINING SURFACE.
- Smooth any drips of poly on the sides so they dont dry drip marks.
Shop



You May Also Like

A little bit of me time

DIY raw-edge wood, metal pipe leg pub table