Laundry Room Sorting Basket Shelves (that broke the internet)
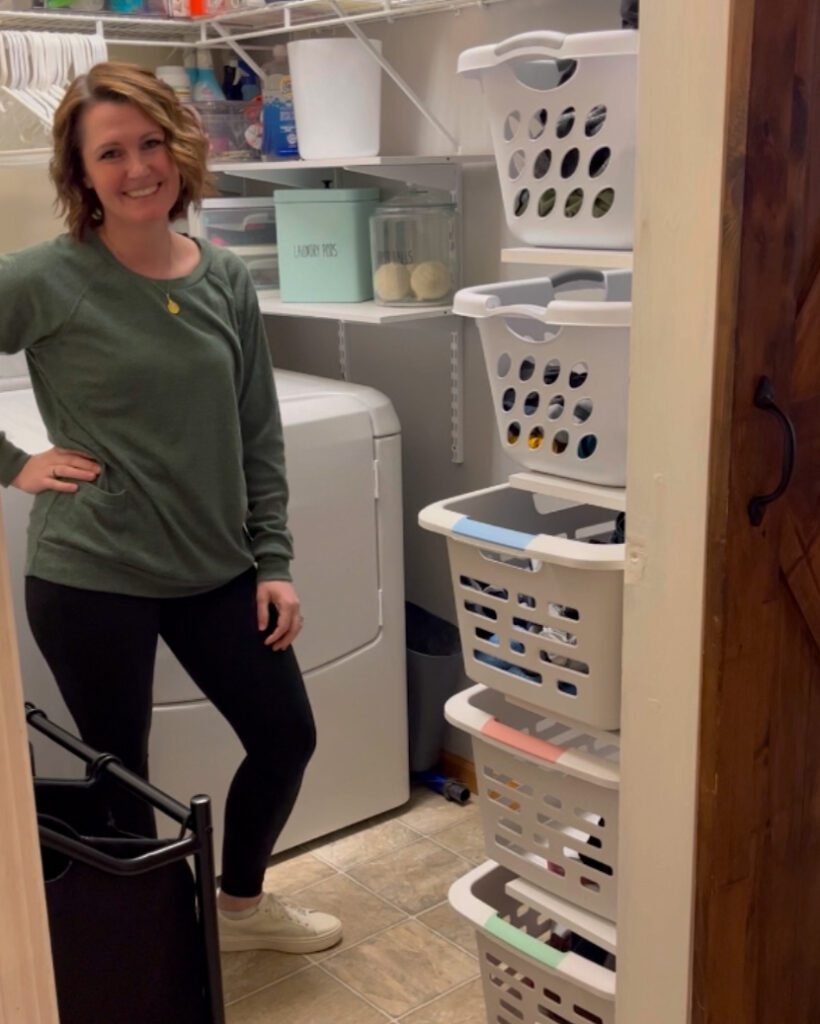
After posting my laundry room shelves (that almost broke my phone down with notifications) I was asked for the DIY instructions to the project.
Shop the build

Steps
- Find studs
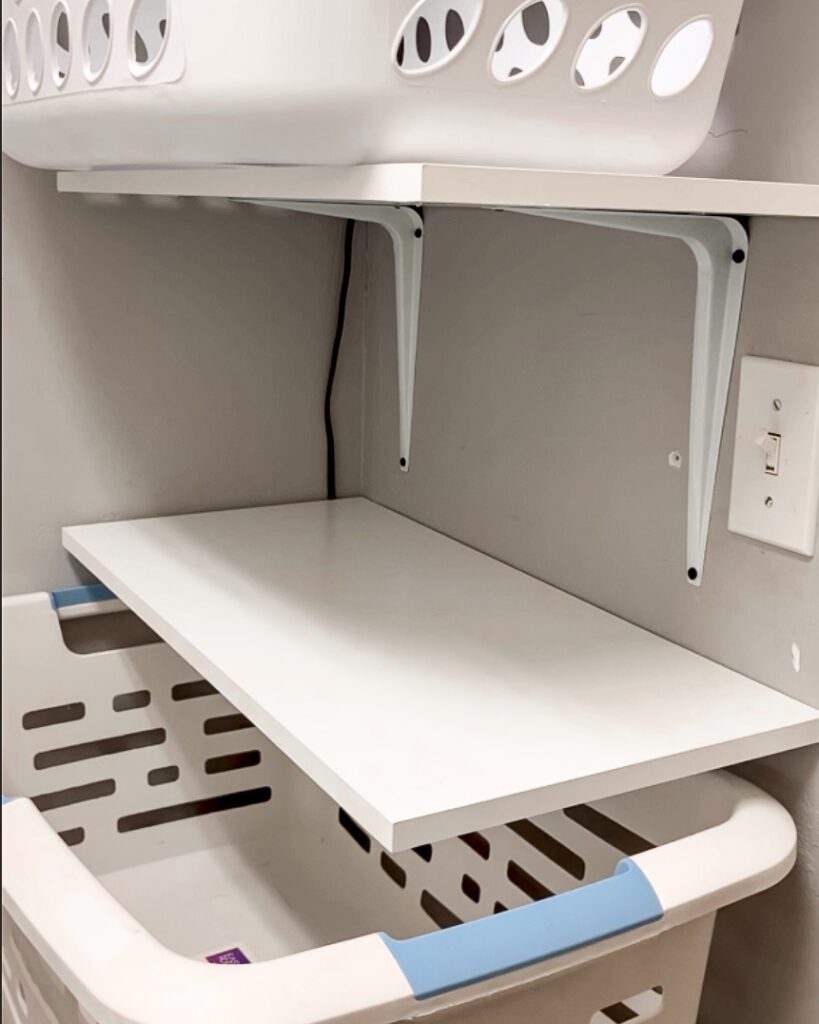
- Because the shelf boards are 24″ long and studs are customarily 16″ apart, you can typically put the supports in the studs with the shelves placed accordingly. If no studs, use anchors.
- Using laser level, draw a line for the studs.
- Measure the height of the 1st laundry basket and give yourself some clearance above. (I put first basket on the floor).
- Place the bend of the L Bracket at that measured height.
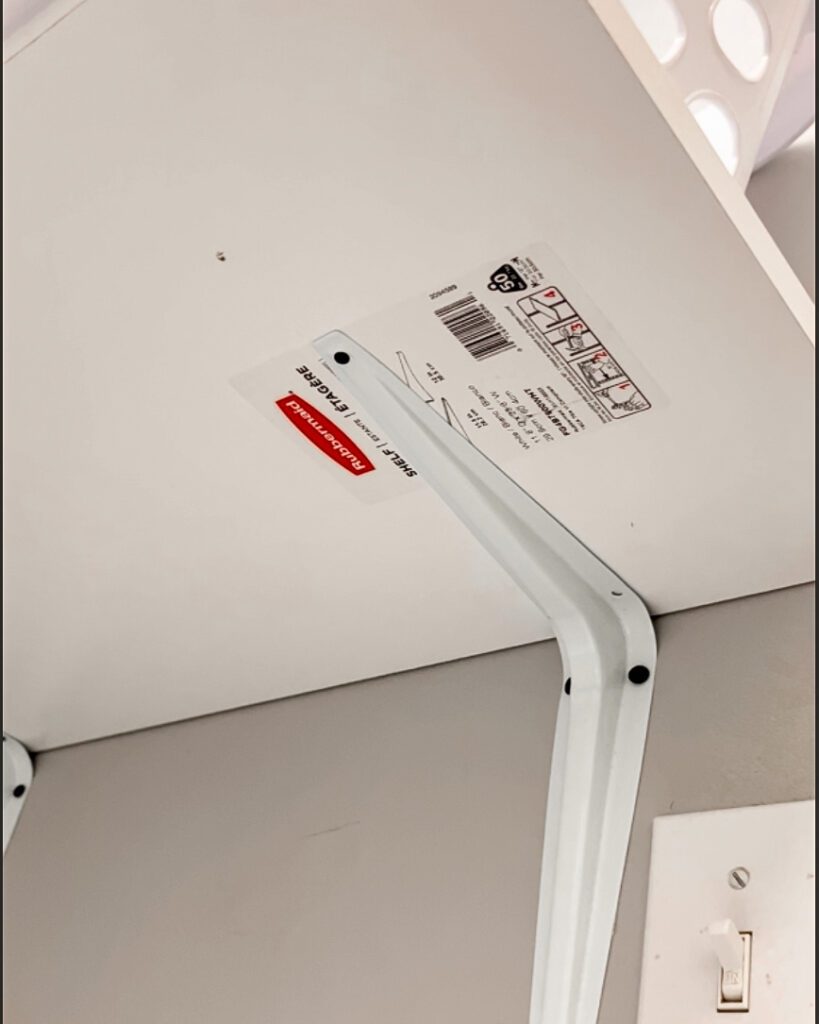
- Screw (I used 2″ screws)the bottom screw into the wall/stud, then the top two (I had to angle in to hit the stud with both)
- Set shelf on the brackets and move around so the shelving is where you like it. May not be centered on the brackets due to stud placement.
- Mark the screw locations from the bracket onto the shelf
- Remove the shelf
- Using a 1/16 bit, drill pilot holes for the screws.
- A trick my husband taught me to prevent drilling too deep: put the bit in so all that remains sticking out is how deep you can go. When the drill makes contact, you are deep enough. Tape on the bit also works.
- Using 10mm screws, screw bracket to shelf into predrilled holes.
- Measure from the top of this new shelf, the space you need for the next. Repeat until all baskets have a shelf.
Shop Finishing it off the laundry room
Original Post


You May Also Like

Have yourself an organized Christmas

Flying with Kids + Special Needs

