Do it yourself mom: painting the kitchen cabinets
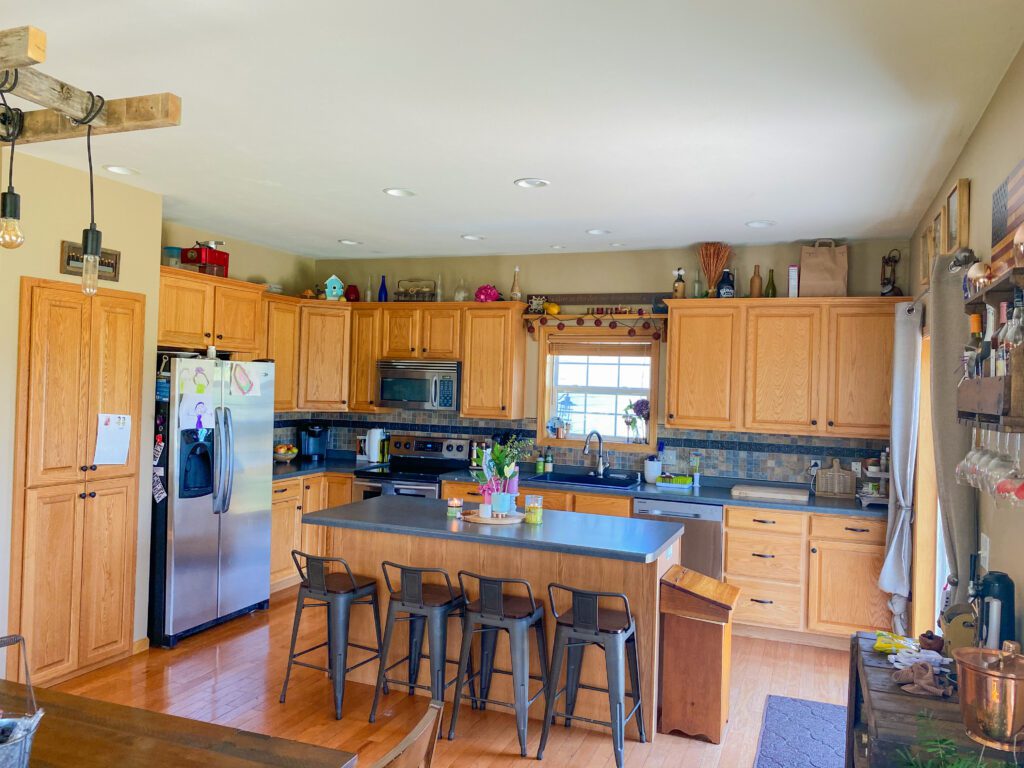
It is time to update our 2004 kitchen. I tried updating the sink, then the stools, then the knobs, and it helped, but it just wasn’t cutting it. It was time for the blonde wood to go. All our photos in the kitchen turn out yellow and that is when I knew, to get the kitchen into this decade and the right color.
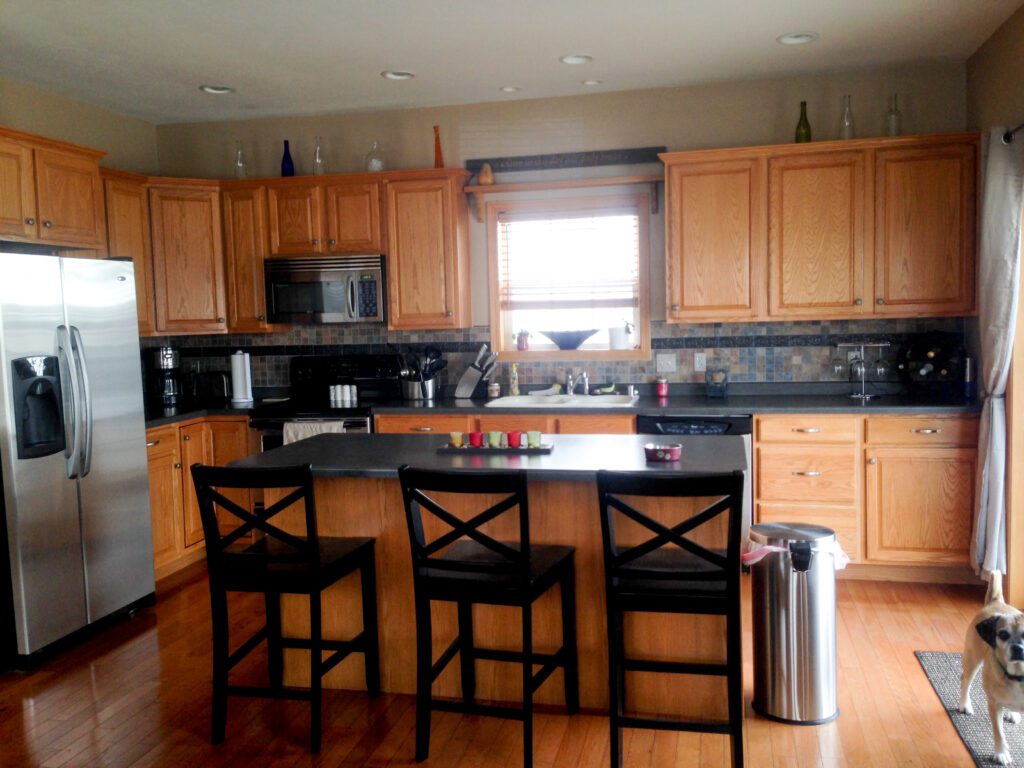
When we moved in 
Before painting
I wasn’t sure if our cabinet doors and molding would look ok if they were painted, but then this giveaway appeared on my instagram and the door and molding style are almost identical and I was sold.
So they crazy journey to do out cabinets began. The stipulation with Alex was that he was not going to need to help (or at least not pick up a paint brush) and I would research and do it right. I have taken the time to compile the research as well as first hand experience while completing the project.
Take it slow
I spread out my purchases with the steps I was on. I took it slow and made sure to do it right and according to all the recommendations.
Steps
Things to note before starting:
- About how many square feet do you have? This will help in figuring out the amount of product you need.
- What color do you want?
- Are you getting new hardware or keeping your old? Does this involve new holes?
- It is not going to make a wood surface into a smooth one. You will be changing the color but need to have reasonable expectations of the end results.
- Don’t rush it. Take the time to let things dry completely. Take the time to roll over brush strokes with foam roller for a smoother coat, etc.
- As a bonus for a kitchen redo, you may want to use this time to clean out cabinets/drawers, get rid of unused products, wipe out/vacuum out drawers/cabinets, set up systems/zones and organizational systems so you can start the whole kitchen with a fresh organized feel.
1 Remove hardware, clean out drawers/cabinets. Get rid of things you don’t use, get rid of expired food. This is a good time to revamp, clean out, and really start fresh in your kitchen.
2 Remove doors**. I chose to leave drawers in with the plan to pull them out to paint and leave them pulled out while drying. I then realized I could take the whole drawer front off and leave the contents in the kitchen while getting a smoother finish on the paint on the back. MAKE SURE TO KEEP TRACK OF WHAT DOOR GOES IN WHAT SPOT! NUMBER AND LABEL. This is essential in having them fit and go smooth.
I took a piece of painters tape, write a number twice on it. I then ripped it in half. I put 1 number on the shelf inside, and the other on the inside of the door. I then washed the doors and put the tape on the front of the door. (this way I can pain the back first, allow to dry, and move tape to back side again.) This also allows me to know which doors were washed by the side of the door the tape was on.
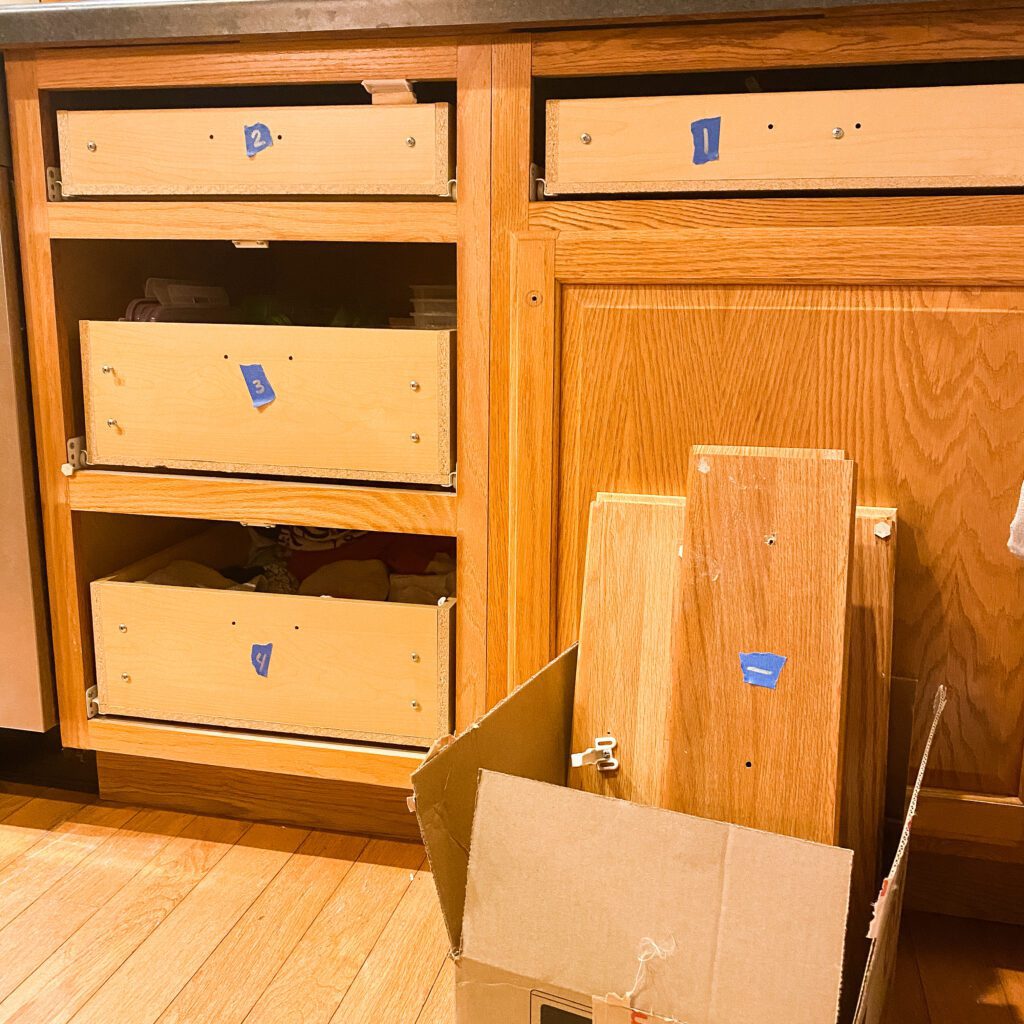
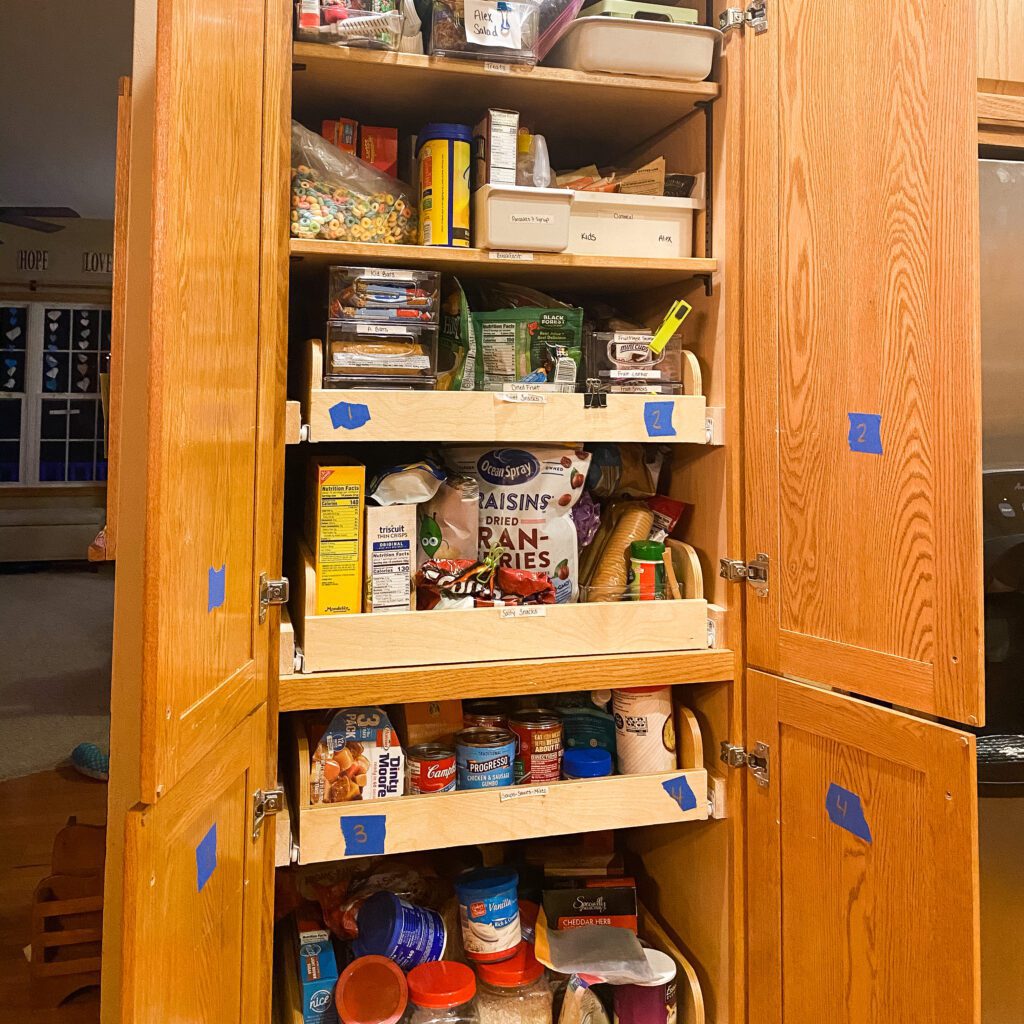
The lazy susan gave us a run for our money and it was one of the only times I called Alex in for reinforcement.
**Remove doors if you would rather wash pushing down rather than forward. (This is the route we took after some trial and error) I originally planned to do the clean step while the doors were still on. This allowed me to get this step completed when I had time to do it without opening my house up to a construction zone quite yet. Upon starting, I realized it is easier at the angle of the door on my lap/the floor so I switched to that route half way through.
3 Clean. The first step is to clean the cabinets. I removed the hardware first so that I could rub without snagging on hardware, I could also clean under and make sure it was a smooth surface to paint.
I purchased this cleaner. It is designed to break up the oil and grease on the cabinets as well as help paint bond. I followed the directions on the bottle.

31/2 If needed: Repair holes , dents, or gouges. I am reusing my repainted hardware so my hole will be the same. If you are changing out your hardware, now is the time to fill all holes and fix any other imperfections in the doors/drawers. I DID NOT NEED TO DO THIS STEP.
4 Sand & Clean You will want to sand down any of the repairs you made as well as the entire surface of the cabinets. You will want to use a higher grit (100) sandpaper as to not really remove much wood, but the stains, paints, etc on the wood. You will also smooth it out with out taking too much off. I kept the vacuum with a soft bristle end close to vacuum after each section and go over the section to remove loose paper.
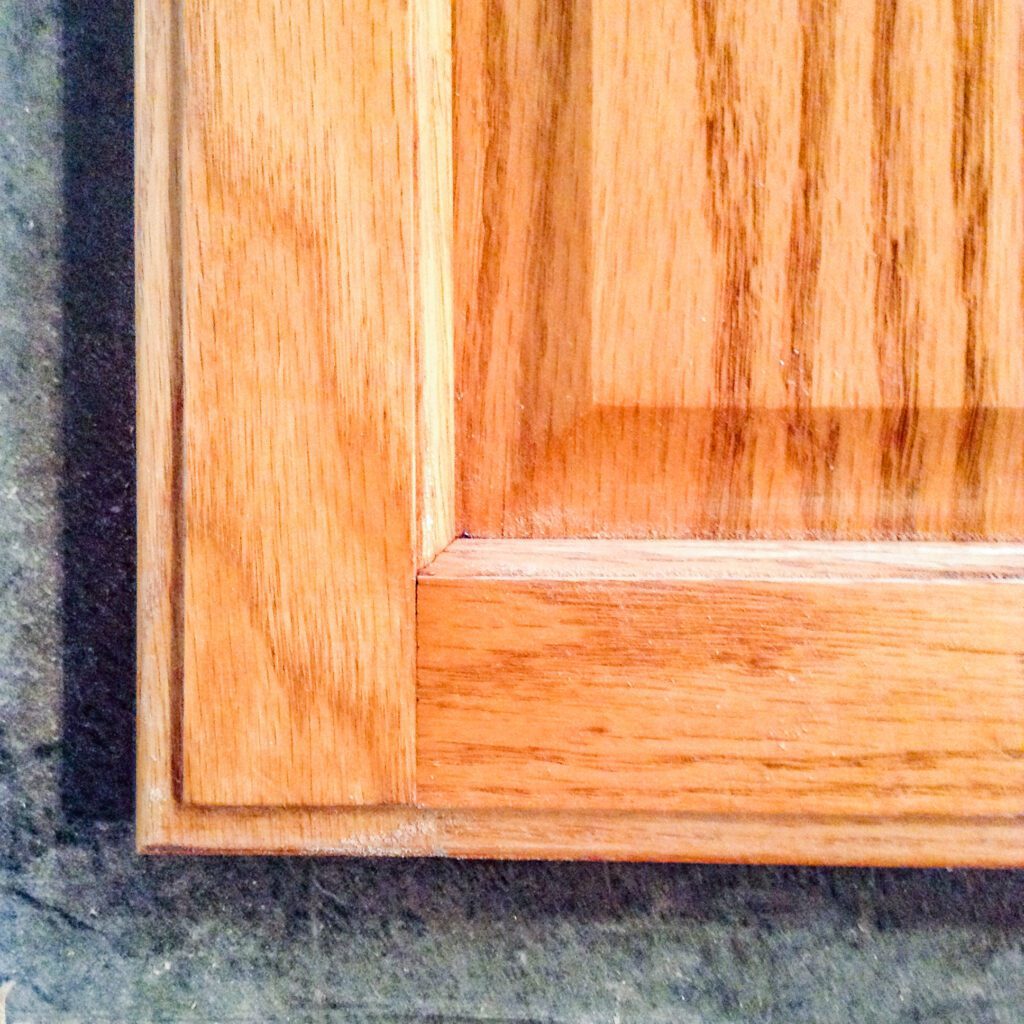
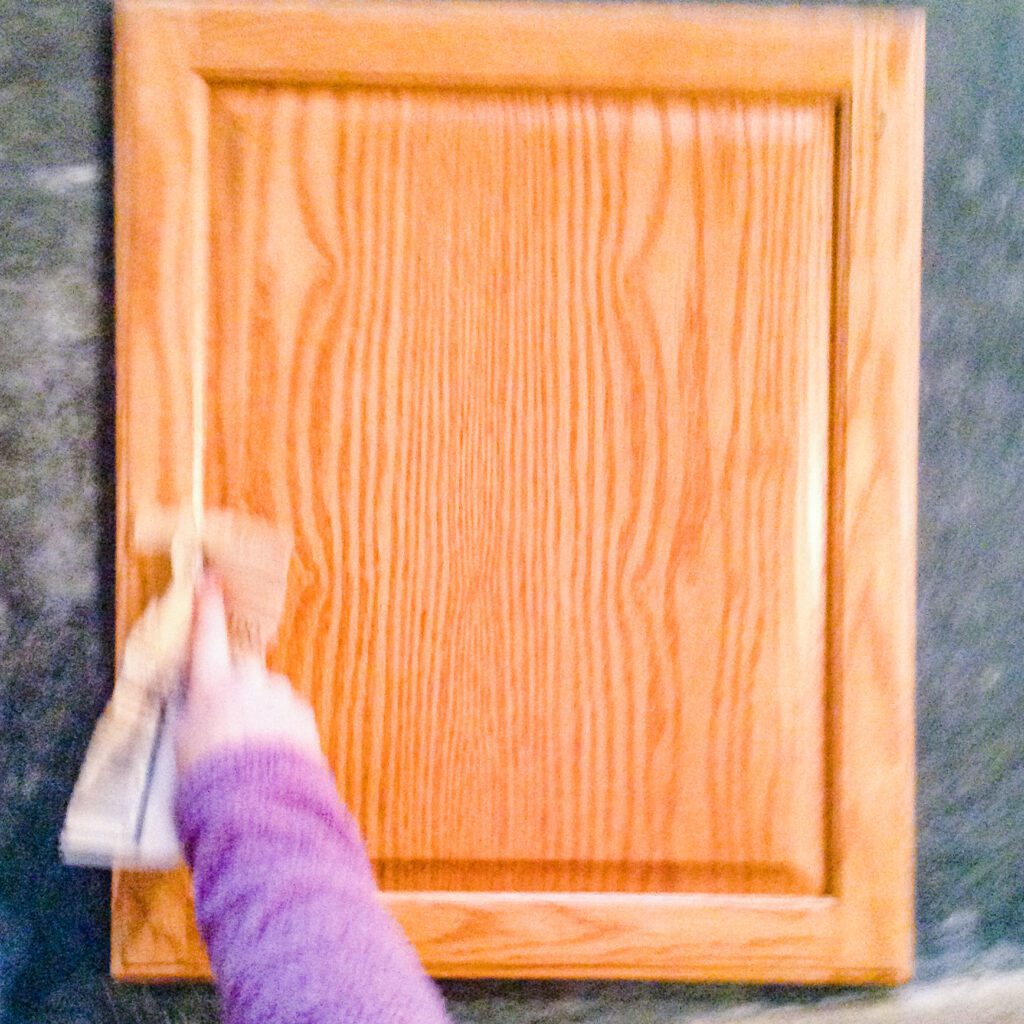
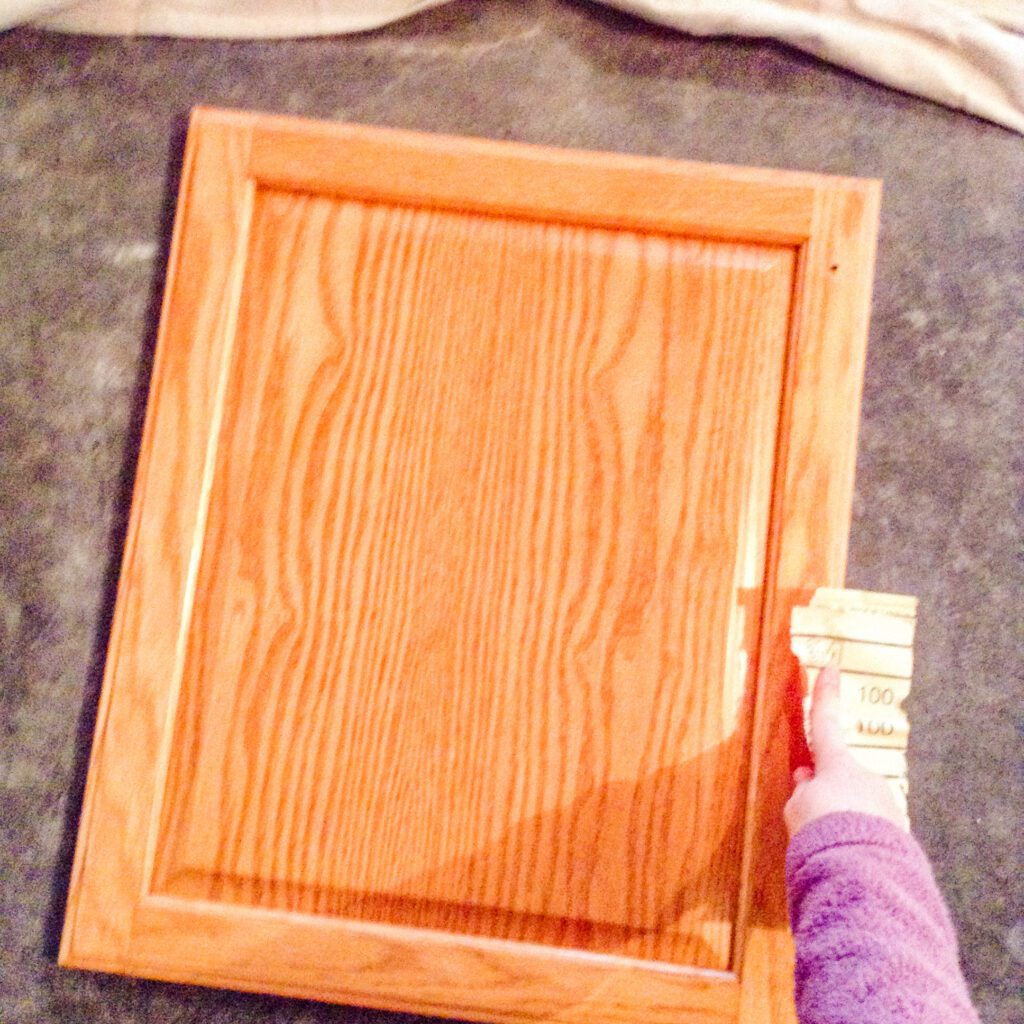
I had to hand sand the cabinets inside because the palm sander was not giving it a smooth coat and it was too much dust inside the house.
You will also want to remove the sawdust because this will show up in your paint. If you want a smooth finish, cleaning after sanding is important. I first vacuumed, then I chose to use a damp cloth of the original cleaner I used to dust. This helped remove the sawdust and should help the paint adhere.
5 Prime You will want to prime your cabinets. I taped along any places the cabinets met the wall. Some paints may say you do not need to, but with the wear and tear a cabinet is going to get, you will want to prime. You will want to optimize the opportunity for a smooth, sturdy coat. I went with a stain and odor blocking option because, again, kitchens will need to hold up to both. 1 gallon of this covers approx 300-400 square feet.
Right before priming (after the cabinets had been sitting in the garage) I washed with a little misted water and a norwex cloth. If you are spraying your prime, There is air coming out of the sprayer, so I would also recommend vacuuming/dusting your work area of as much loose particles you can before starting the sprayer.
I rolled our prime because I did not own a sprayer at the time and the one I was going to borrow was EXTENSIVE clean up. I ended up purchasing a new sprayer (linked) and it is a fast and easy clean up. Doing it again, I would have sprayed the primer.
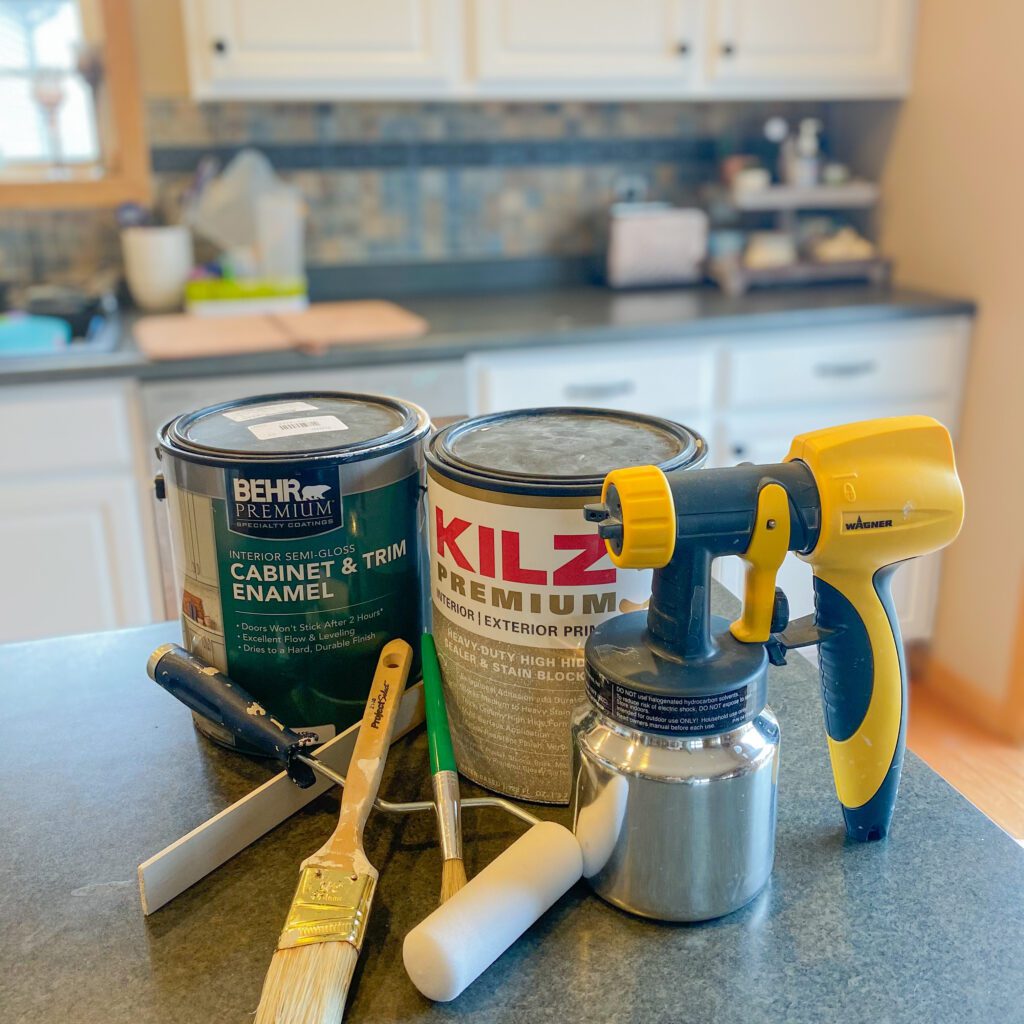

6 Paint You will want to pick either a paint specifically designed for cabinets or go with a semi-gloss latex paint. The specially designed or semi-gloss will keep the sheen and be shiny enough to be wipeable. In the kitchen, you will want your cabinets easy to clean and avoid stains.
- You can often use a brush, roller or sprayer for this. In our situation, I chose to apply the paint with a sprayer. I purchased the sprayer with much research. It can spray doors laying down, it is low over spray, it comes with it’s own air pump, and was very affordable. I used the Behr cabinet & trim enamel (link below) and it did not need thinning for the sprayer.
- I elevated the removed doors to help get a clean edge and reduce smudging.
- Dust before each layer of paint. Vacuum between if there is extra dust accumulation (like a garage door was opened) The sprayer blows so you don’t want to blow up dust and put it in your wet paint.
- Paint the inside of the doors first. You get practice where you won’t see as much.
- Get the 4 sides of the door (this is where I “shot” the most paint. Much of my plastic did not have overspray, but got shot when doing this process. Be aware of what is in front of you when spraying. I did not have a fancy spray tent so I took to very light bookshelves with a shower curtain binder clipped on as my back drop.
- Paint in the direction of the wood grain.
- I was worried about having enough paint, I only did one coat on the inside of the doors, two on the outside. I was personally happy with these results, and it turns out I would have had enough paint, but I was ok not doing that extra step.
- Pick a direction to work in and work in that direction every time. (top to bottom, left to right for me).
- When doing your second coat, consider going the other direction (bottom to top, left to right for me) to get any paint shadows from your first angle.
- Allow the proper drying time between coats and moving. I basically locked myself out of the garage the 2 hours recommended by this paint plus 1 hour to make sure I didn’t touch
7 Replacing Doors & Hardware If you are reusing hardware, you can attach it now. If you are using new hardware, measure and drill the holes , then attach.
When replacing doors, I would pick up a door, put the sticker on my pants, go to that location, install the door, and remove that sticker and put it on my pants. That way I was sure it was going in the proper place, if I forgot where I was going I could just look down, and then I was cleaning up as I go.
When I went in the garage to get the next door, I would clean up the item I had the door sitting on first, then take the sticker. When all the items were off a tarp/piece of plastic, I would fold it up and put it away. This way I was cleaning the garage while putting up doors.
The Final Reveal
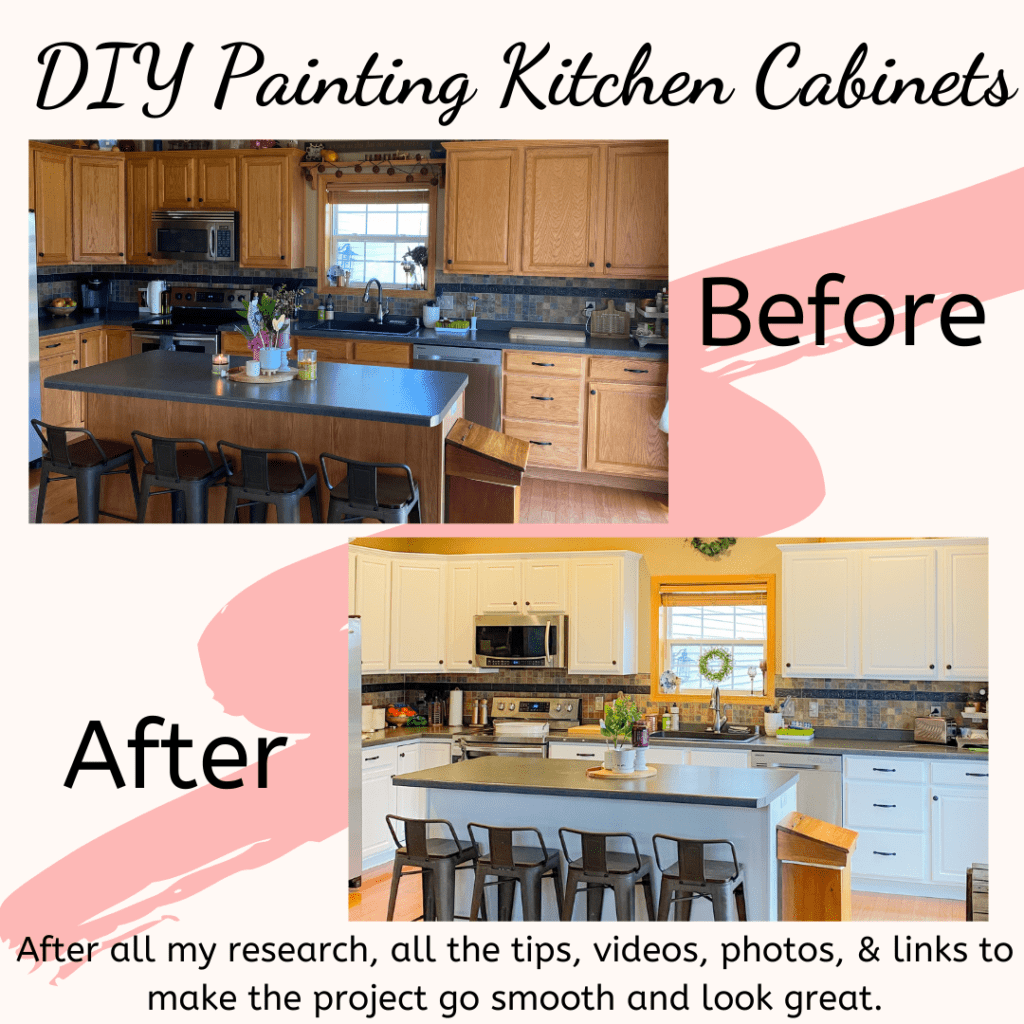
Before
During (doorless)
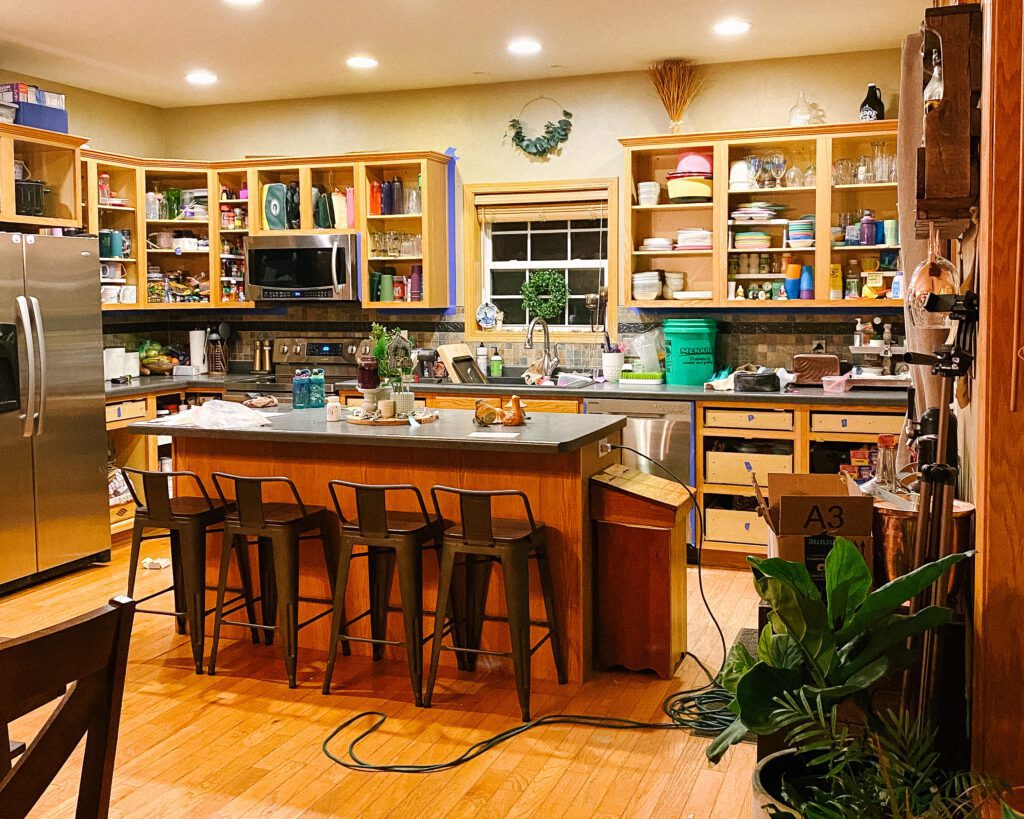
During (primed)

After
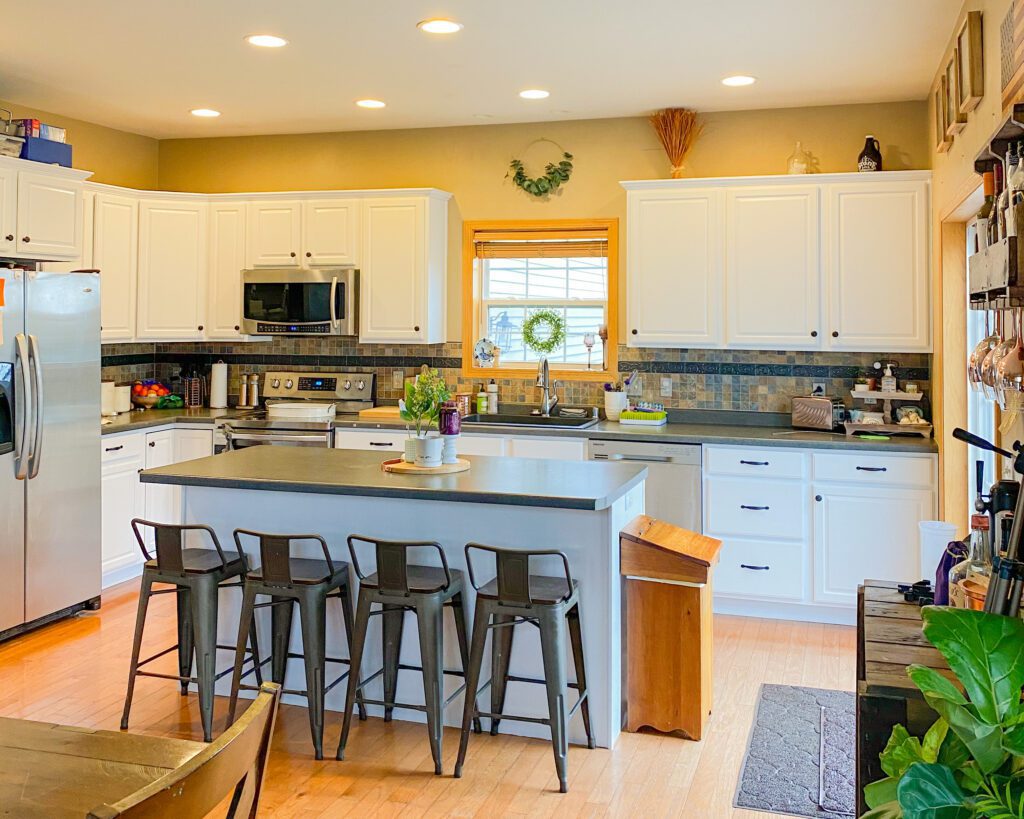
Was it a TON of work? YES.
Does my entire body hurt in places I didn’t know could hurt? YES.
Do I get great joy out of saying I did it completely myself (the actual work– I couldn’t have done it without the support of my husband and him watching the kids and making meals for them and us) YES.
Did we save a ton of money even AFTER buying a paint sprayer. SO MUCH YES.
Doing a big project like painting cabinets can be scary, daunting, and a pain, but the end results are totally worth it. Making your home look completely different does not have to be expensive, but you do have to have the drive to do it.




3 Comments
Ryan
Looks really nice! I hope Mel doesn’t want to follow suit! (:
stayathomezookeeper
The pictures didn’t do it justice, now she saw it in person, no promises!
Albat
Thanks for share……