Hall closet to Mudroom / Mudnook
We were working with a 36″ closet with a 21″ door. To the right we had a set of baskets that held their backpacks, coats, hats and mittens. The closet was tight, because of the door, it was dark, and the hooks had everything getting stuck in the bathroom door because the limited space.
It was time for a change. It was time to find a way that 3 kids can hang things themselves, have a place for everything, and looked good too. I started talking out loud and visioning with my mom on a weekend, and two weeks later, our amazing mud nook (because it’s not big enough to be a mudroom) was born.
Before
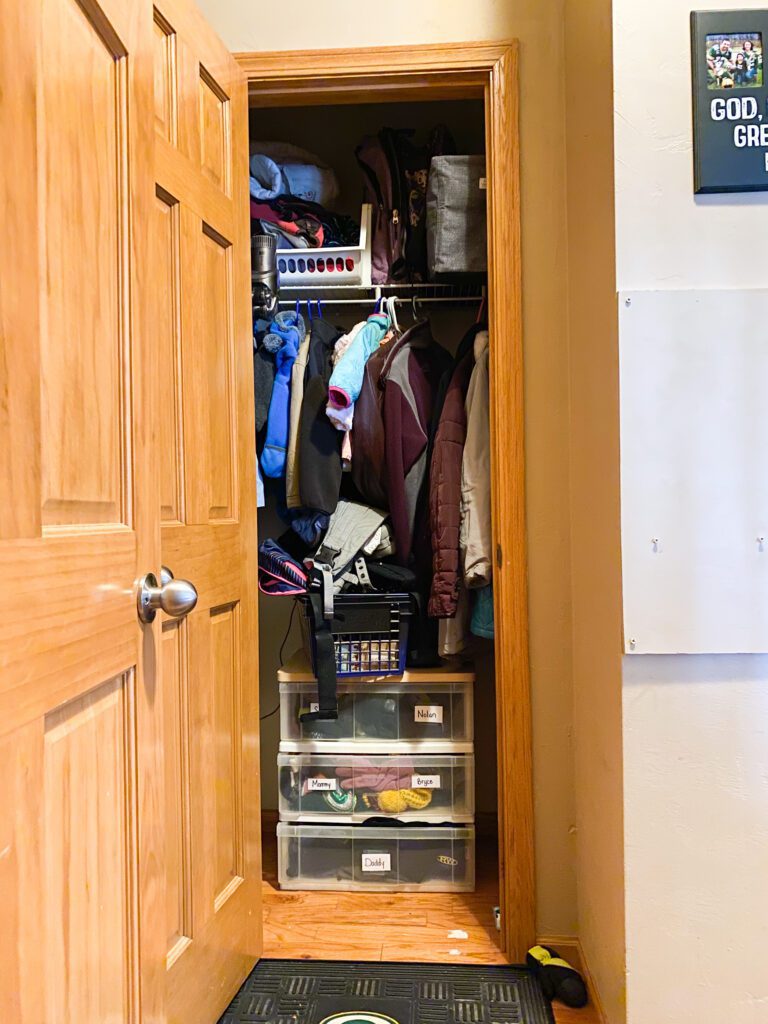
Original closet open 
Original door color (wall was already painted white in construction)

Construction
We started with removing the door, doorframe, and drywall around the door. Im not going to lie, I take pride in the fact that I did most of it alone. We then knocked out the framing. In removing the framing, I was home alone since Alex was working so I didn’t think using a saws-all alone was a safe choice….so I took the bow saw (like the kind you cut a Christmas tree with) and cut them out and pulled them out on my own.
In removing the frame there were 2 tiny boards of hardwood missing. We removed a plank from under our fridge (shhh). I then fit that flooring into the hole and it is a perfect match.
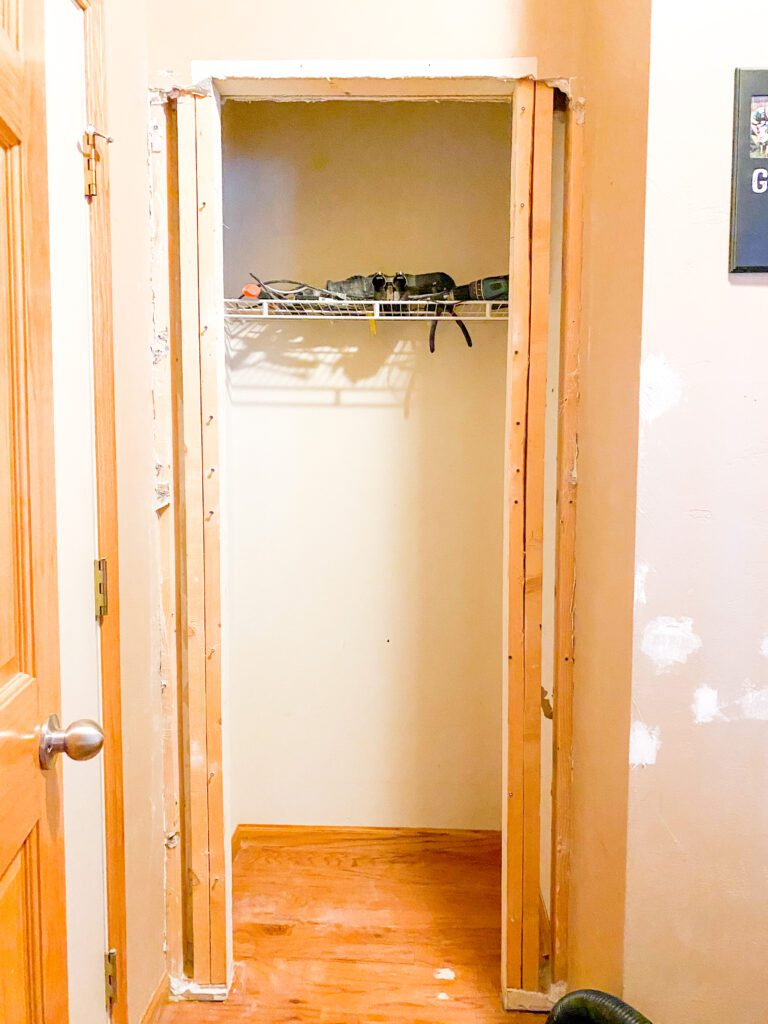

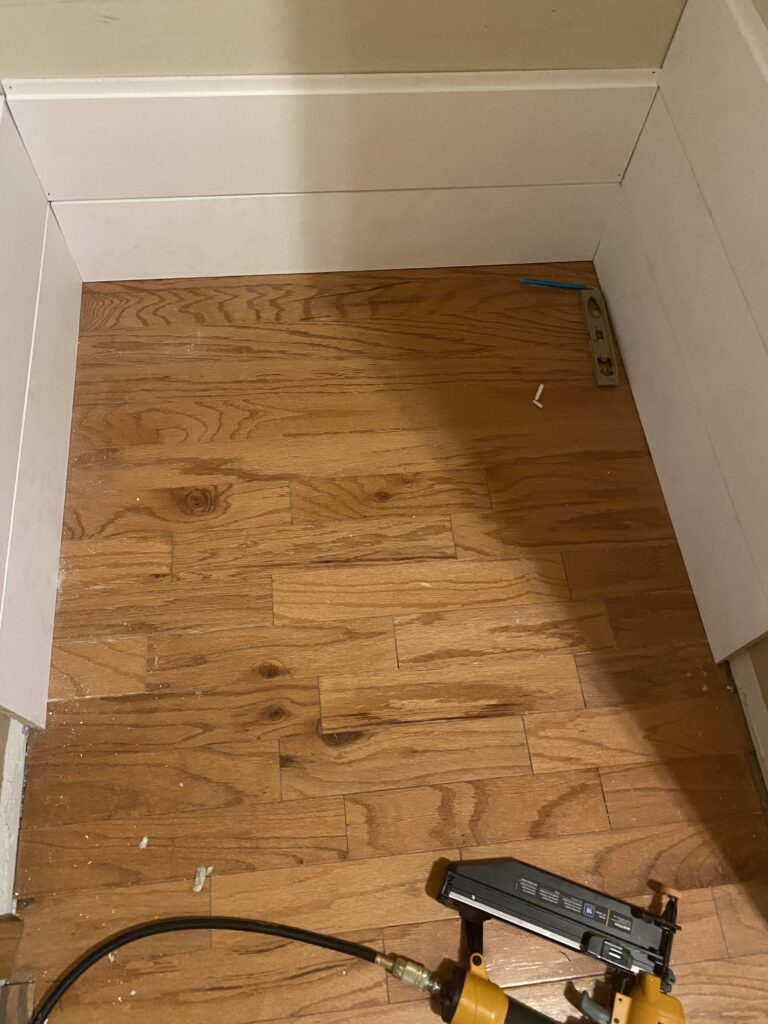
After
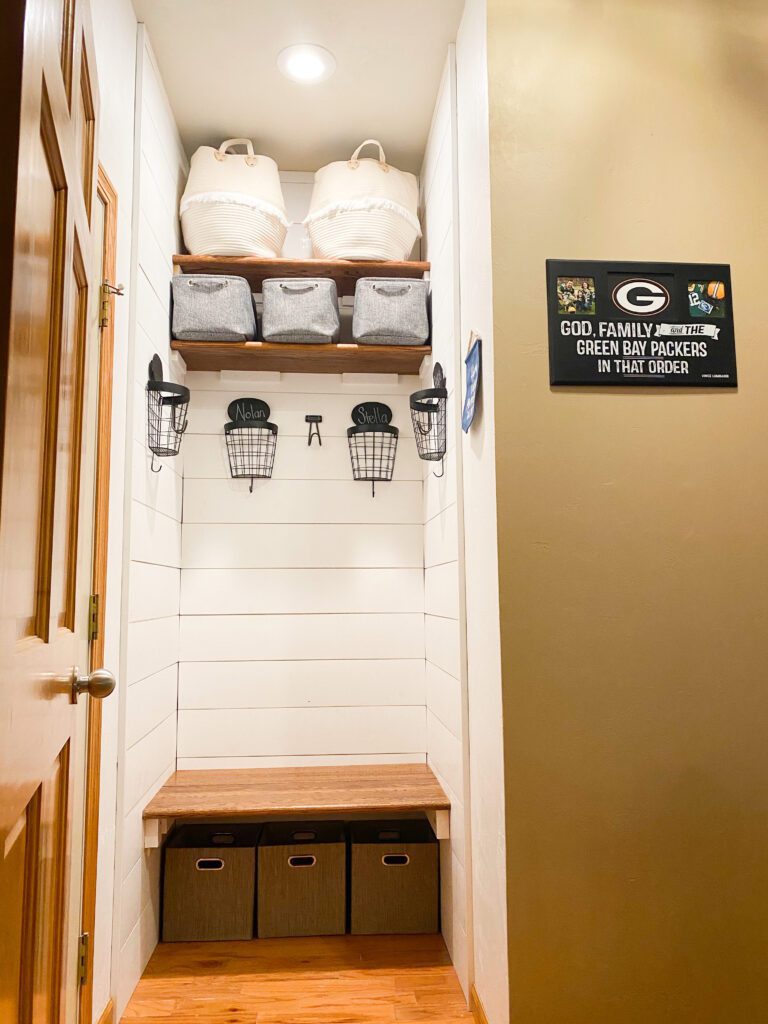
The process
Shiplap
We purchased the 7 1/4″ ship lap. This shiplap was great because when it was laid on the groove, it automatically gave it the spacer so we did not need to do anything with that. We decided it would look best of we lined the two sides first and then did the back wall with the ship lap. We measured the back pieces accordingly. We found and marked all the studs all the way up the wall. Using 16 gage finishing nails, we then laid the shiplap, starting on the floor, making sure it was level, and nailing into the stud. We knew the height in which we were going to hang the hooks, so we chose to screw that one piece of shiplap into the stud for a little extra support.
We actually had trim pieces my parents had left over from a construction project they did, but our original plan was to purchase primed quarter round molding.
Shelves
We originally bought brackets to hold the shelves, but I was afraid it would limit our shelf space and hang down and effect where I wanted to hang the baskets and hooks. We decided to paint some 1×1 pine white and use the nail gun to hang them. This gave more of a floating look. We knew the stuff on the shelves wouldn’t be very heavy.
For the actual shelves we bought stair treads. They were already sturdy, they were already sanded, and they already had a curved edge towards the front. We stained the bench to the desired color (and if we are being honest with the only color stain we had) and then did a satin poly.
We cut the shelf to fit left to right, but decided our shelf width would be the depth of the tread.

Bench
The bench was done in the same method in which the shelves were, but we used 2x4s from the frame we cut out. We also painted them white, made sure they were screwed in the stud, and that they covered up our outlet height wise, but cut 2 pieces of support to go on both sides of our outlet.
We wanted the bench to cover our outlet (and the stud was on the front of the outlet) so our tread was not wide enough, but 2 was too wide. We cut the curved edge off a second tread and put them straight edge to straight edge (with a straight edge in the back). We were going to just mount them in the slot like this but our neighbor has a dowel machine so he doweled them together for us.
We used the same stain and poly we used on the shelves, giving the bench a couple extra layers of poly since it will get so much wear and tear.
Light
We decided to install a light over the closet. Changing out the light in the hall helped, but it was still not very bright around the corner. We tied into the light that was already there so both are on the same light switch.
My father in law is an electrician so we had his supervision while doing this. We cut the drywall to give the wiring a path to go.
We ordered a REMODEL can light that can be tied in and doesn’t need its own J box.
My dad and brother are drywall/plasterers so they then patched the hole in the drywall and matched the plaster.
Accessories/Baskets

We needed to extend our outlet to come in front of the shiplap so we did have to purchase an outlet extender. It is tagged in the shop the look.
The bottom baskets came in a 4 pack from amazon, we just used 3. The extra is in another closet. We use these for the kids’ shoes. They are tagged in the shop the look.
The white labels were added later, but are amazing at labeling the bins. They are tagged in shop the look.
The gray baskets were in the Bullseye playground of Target (July 2020) and are not available online. These are for extra mittens/hats, jumping place socks, and the other is actually empty for now!
The tall baskets are perfect for storing things like the baby carriers that are not heavy but big and bulky. Sweatshirts for mom and dad are in the other one. They are tagged in shop the look.
The hooks are from target and are in the shop the look.
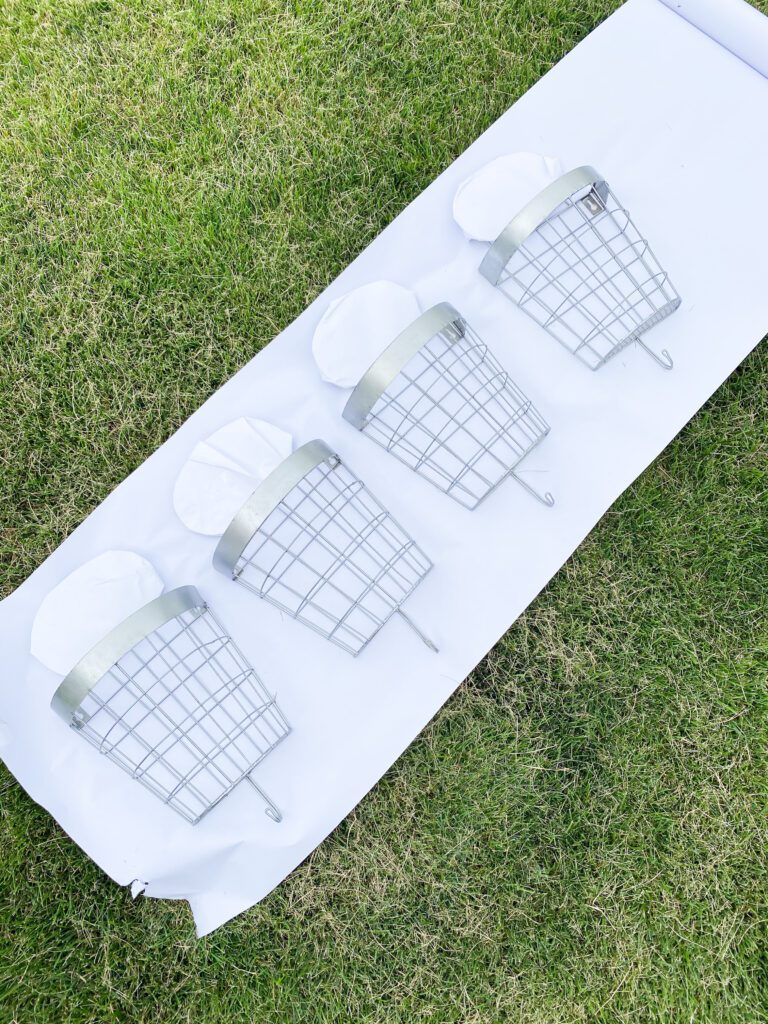
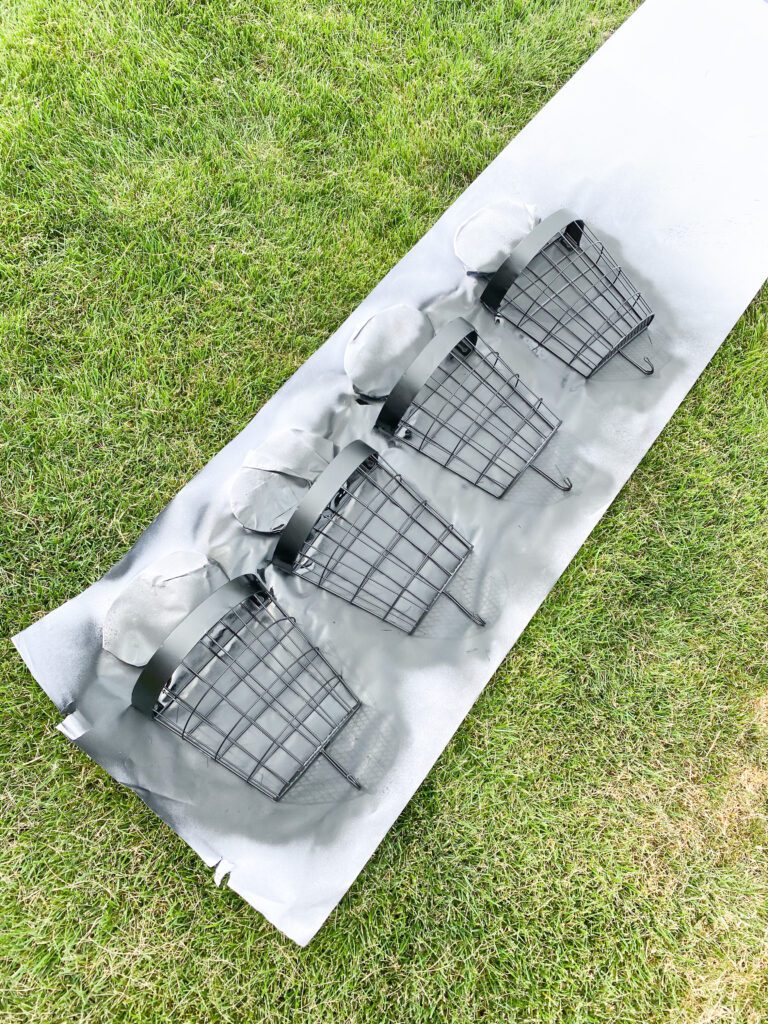
The hanging baskets came from Joanne Fabric in 2017, I cannot find them online. I did paint them from silver to black (the black chalkboard was on the top and what I covered up). The matte black spray paint is tagged in the shop the look.
Door
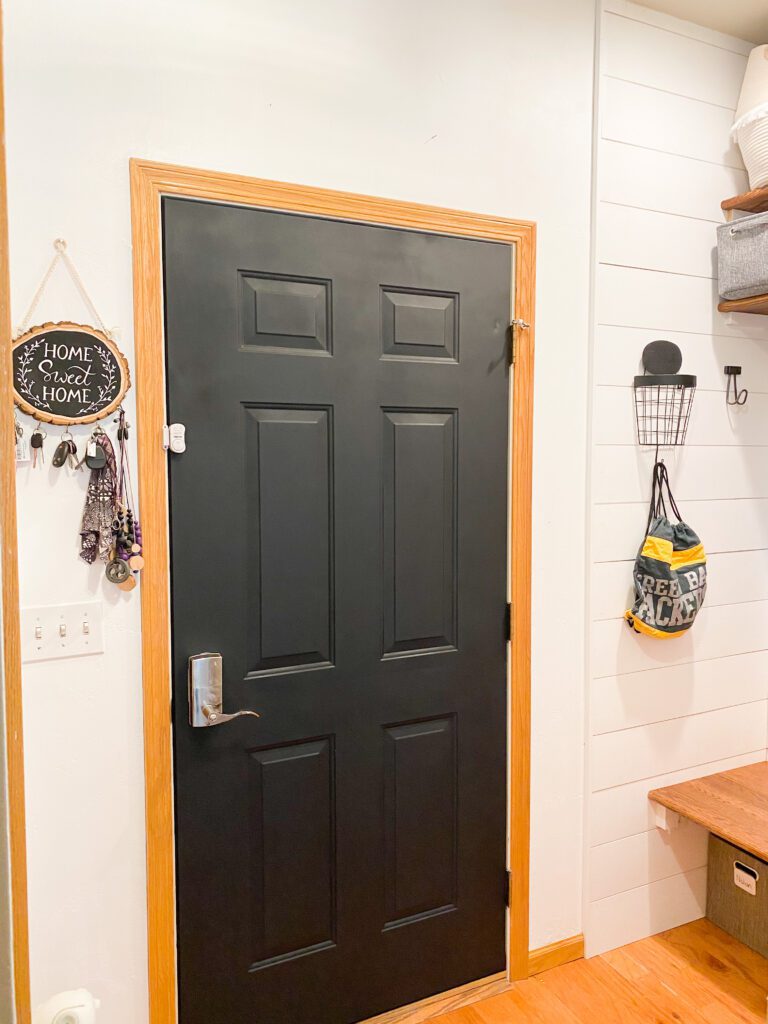
After I completed the whole process with the mudnook, I realized the door no longer matched. It matched when the wall was brown, but once the wall was painted white, the off white/cream door looked out of place. I used the black spray paint I had used for the baskets (and kitchen knobs) to spray the metal door.
Shop the look


You May Also Like
Christmas Shopping

My vote for best mineral sunscreen for kids