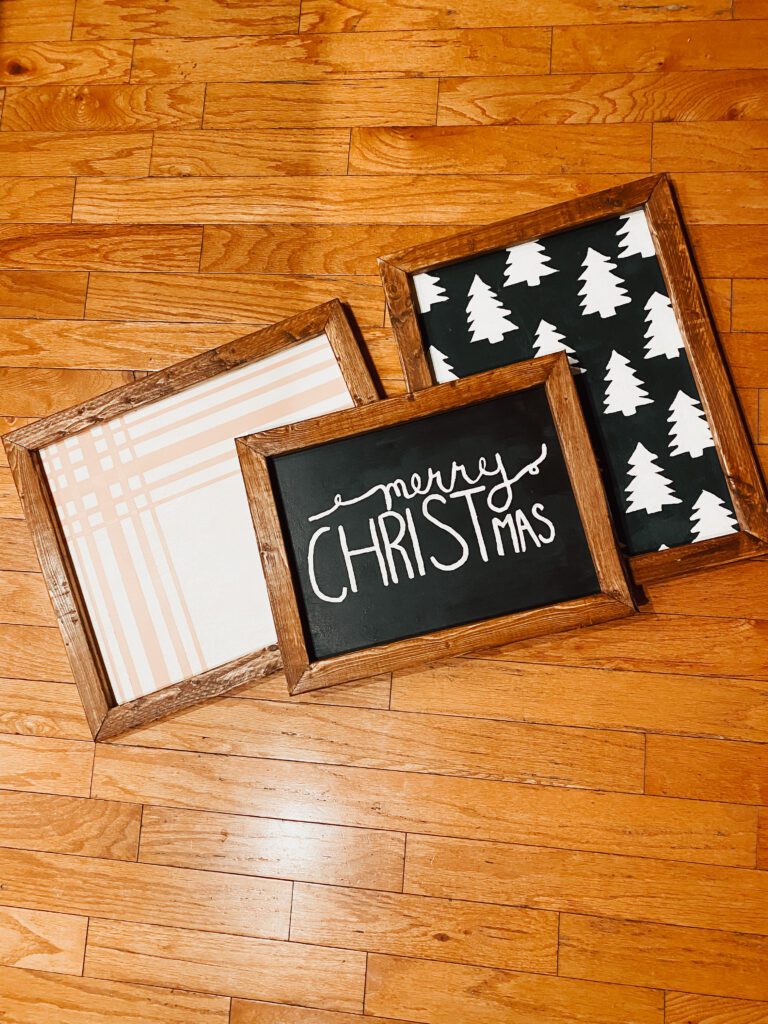
DIY Christmas layering signs
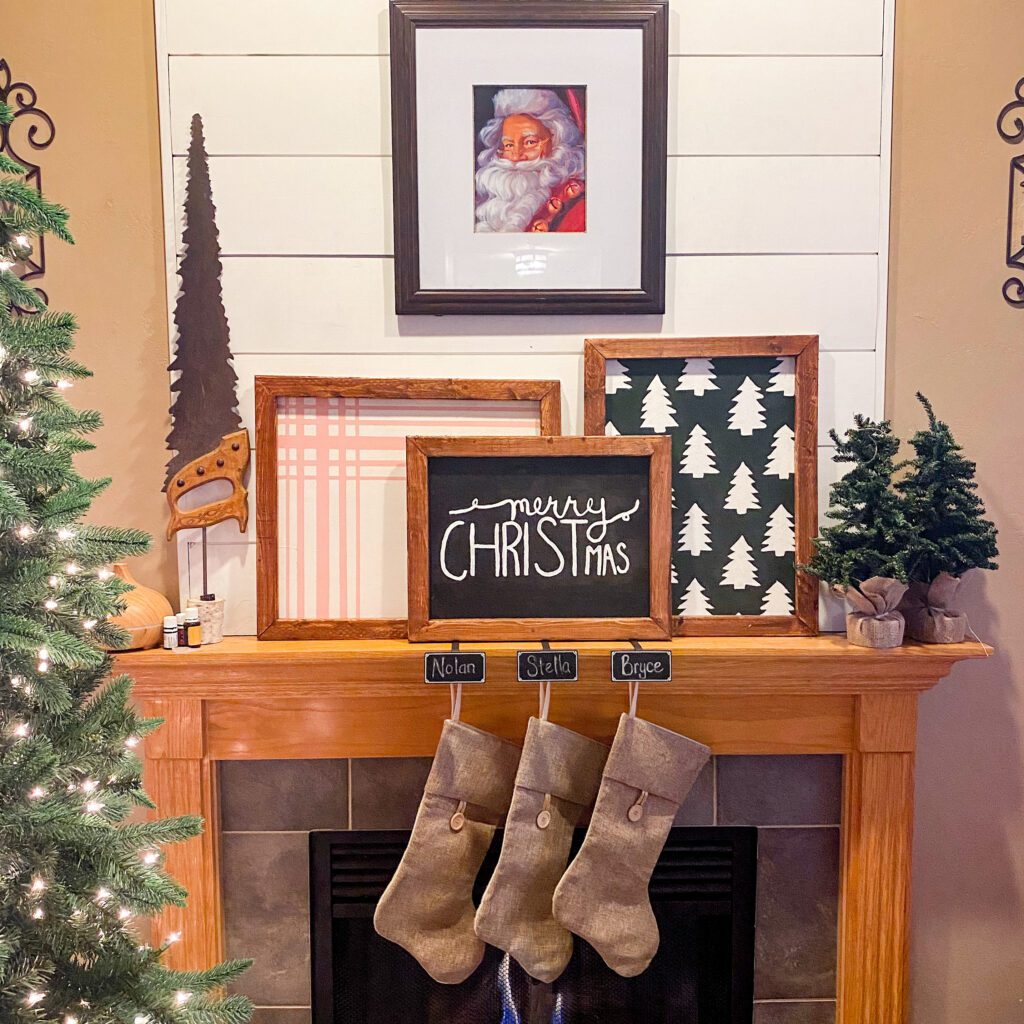
The farmhouse mantle trend I came across in my Pinterest searching revealed layering signs. A quick search revealed that they are all over the place, and all over my budget. I decided I could make my own rather easily. And with supplies we already had at home or could borrow, it was really cost effective, too!
Supplies
For the actual frames I needed 1/4 inch plywood and 1 inch x 2 inch Furring strip.
For the painting of the boards, I chose paint colors I liked and got them in sample size. I wanted a rose gold metallic I found, but they do not compe in sample size and I did not need a whole quart. If you are going to use it for a lot of projects, metallic paint would be really cool for holiday projects. I went through and picked out colors in the paint strips and then brought them to the desk and ordered satin samples.
For the designs, I projected them from my phone. We already had this for our playroom movie watching. I also used painter’s tape for the wrapping ones.
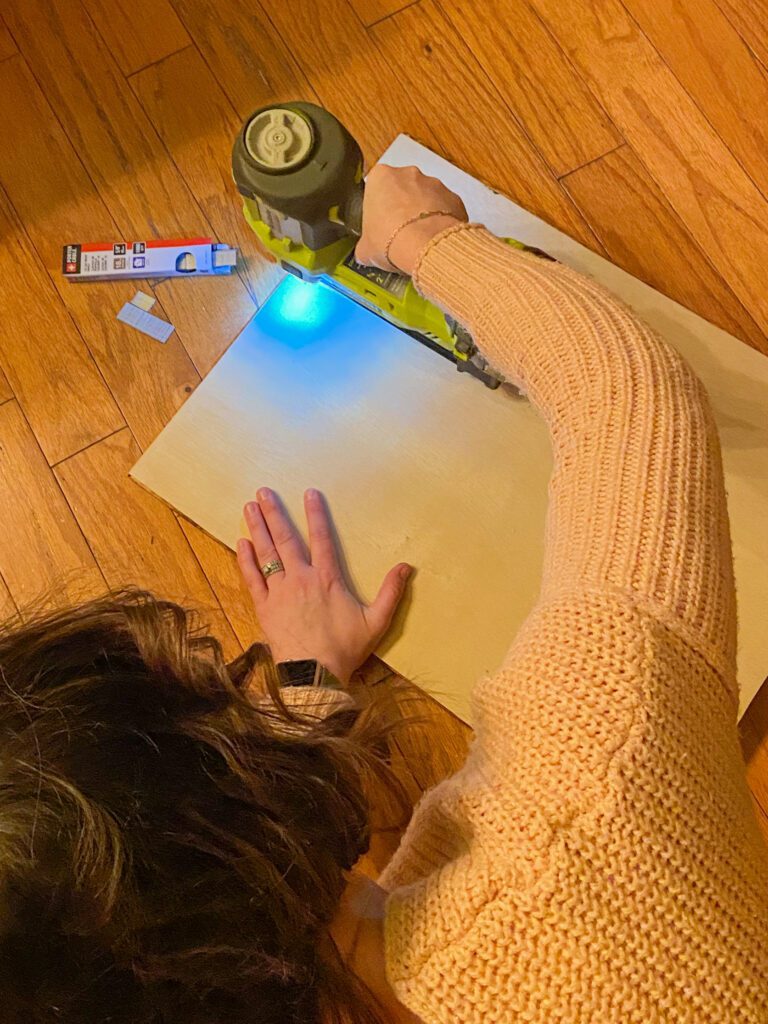
I borrowed a battery operated brad nailer (5/8″ for the backs, 1″ for the corners). I used wood glue and a 90* clamp to hold the corners when nailing.
For the frames, I wanted to use my Early American stain but I did not have enough left so I used the Timberline we had leftover from doing the pergola and swing 2 summers ago.
Shop my supplies here:

Prints
1. Cut your prints to size. I measured my mantle, the space I had under the already hanging print, and then measured the differences in sizes between the prints. I used only a quarter of the plywood I purchased.
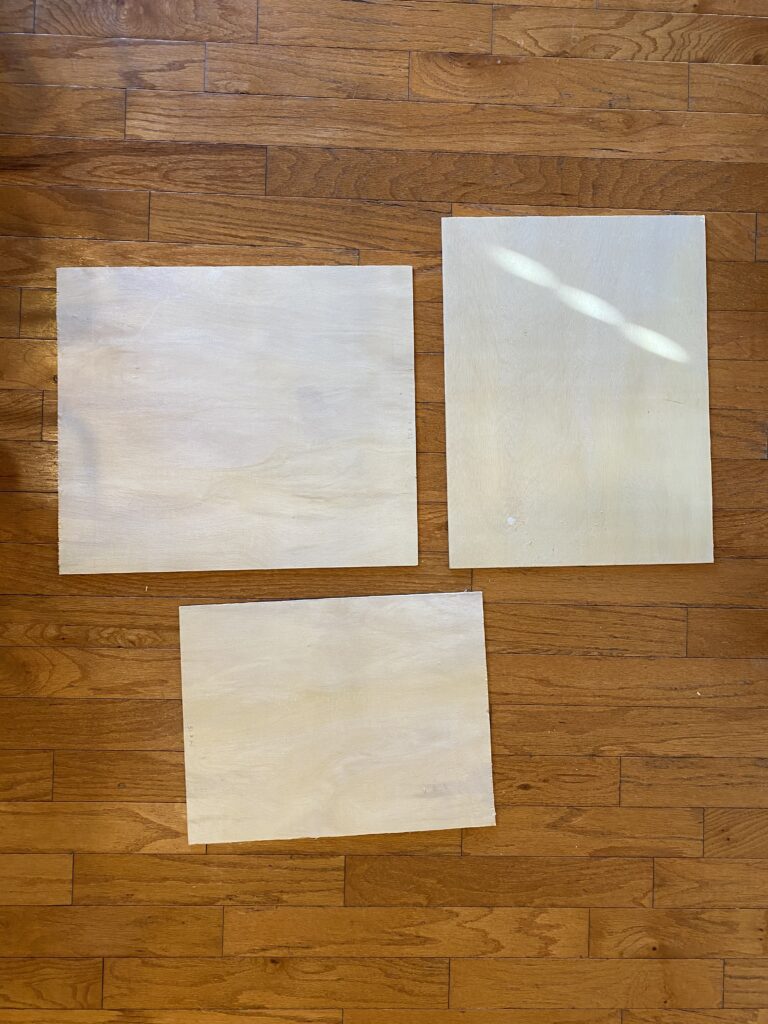

2. Paint the base coat on you plywood.
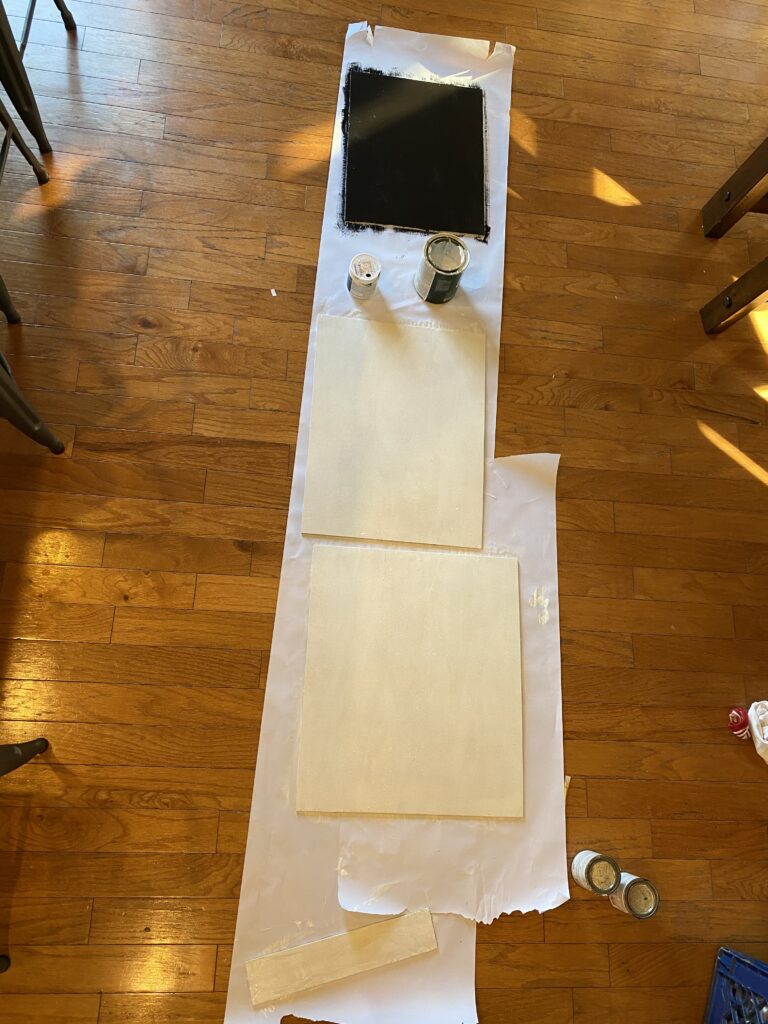
3. Design your signs.
For the present, I used painters tape. I spaced the tape out to have a thick in the middle and two thin on the sides. I then repeated on the top with the same spacing. I then went back to the sides and did a medium line between the fat and skinny. I repeated on top.
For the words and the trees, I used the projector. I lined the projector up with the size of the wood. I used a dry ultra skinny paintbrush to trace the projector lines. I then sat with the thicker painbrushes and refined the paintings.

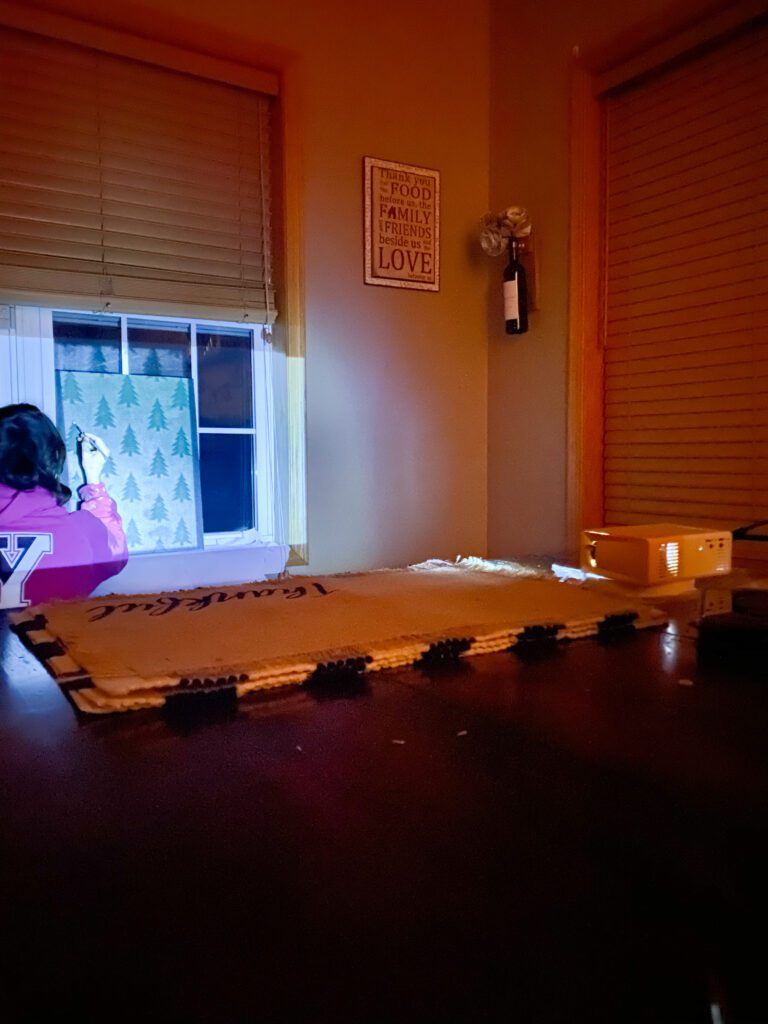
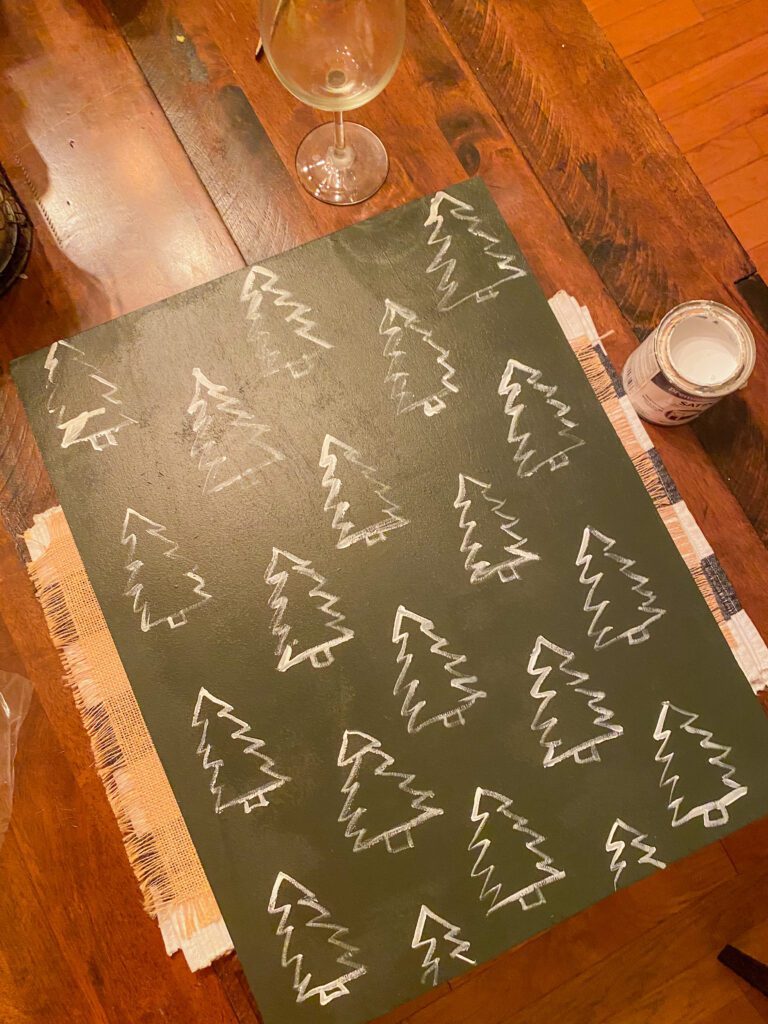
4. Measure your frame sides. I measured the sides of the boards exactly. I then cut the board to that length. We then cut them at 45* angles with the side measured being the long side of the trapezoid.
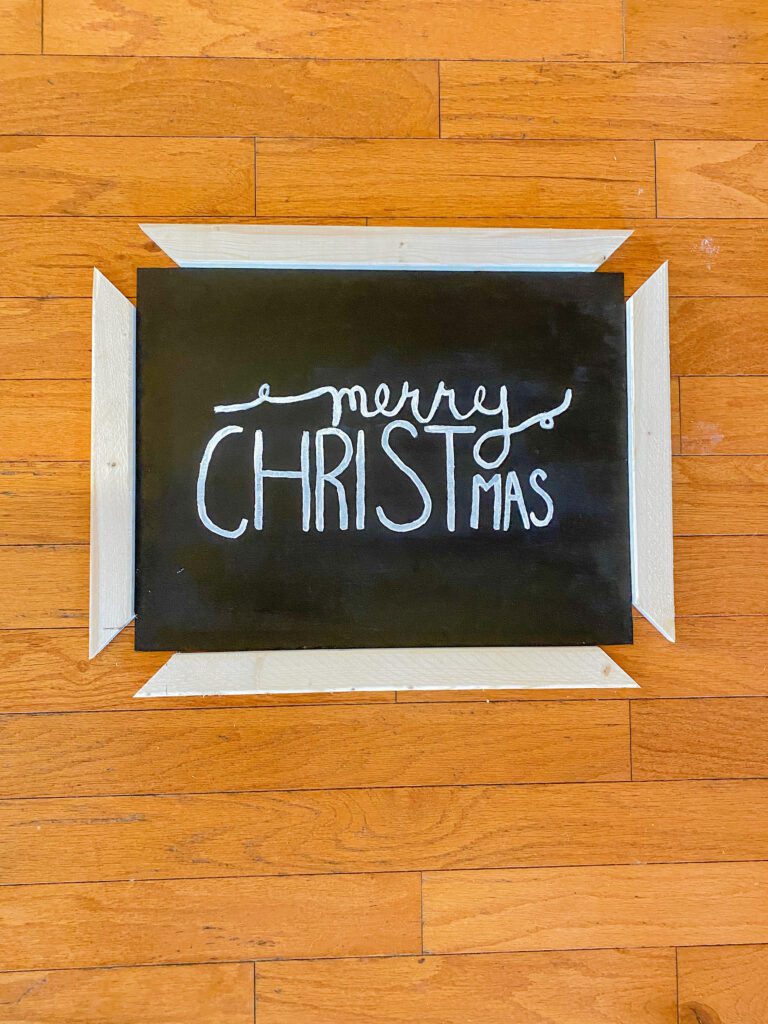
5. Assemble the frames.
I first placed two 45s together, used some gorilla glue, clamped them in to the 90* clamp. I then used the 1″ brads to hold the corners together.
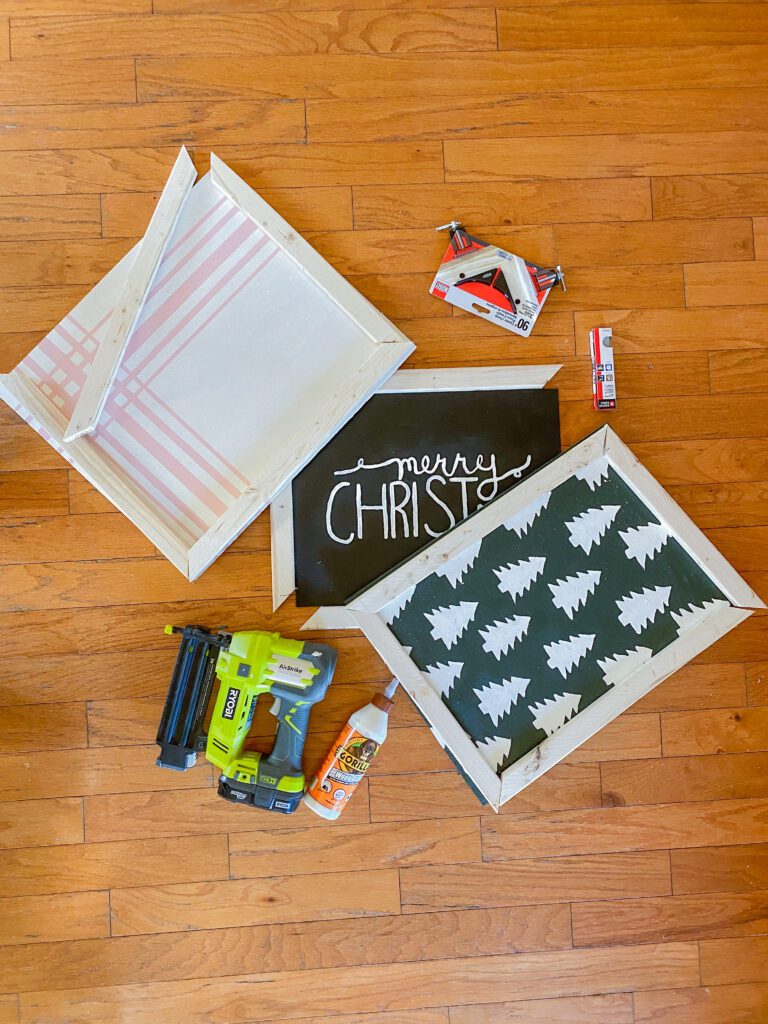
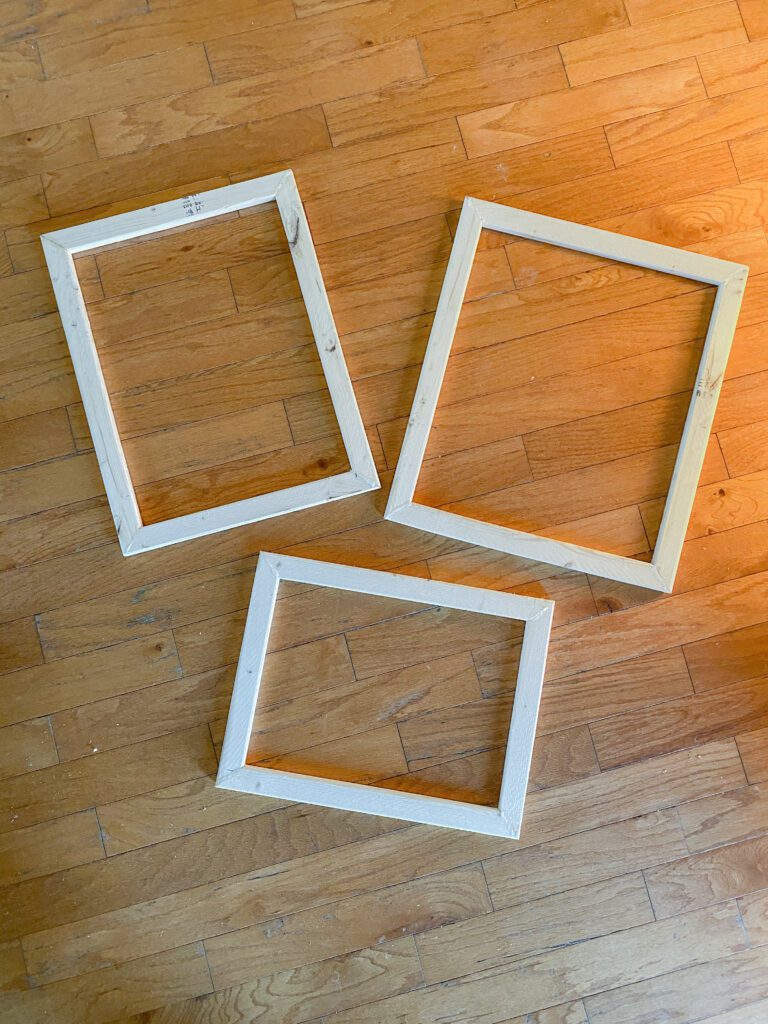
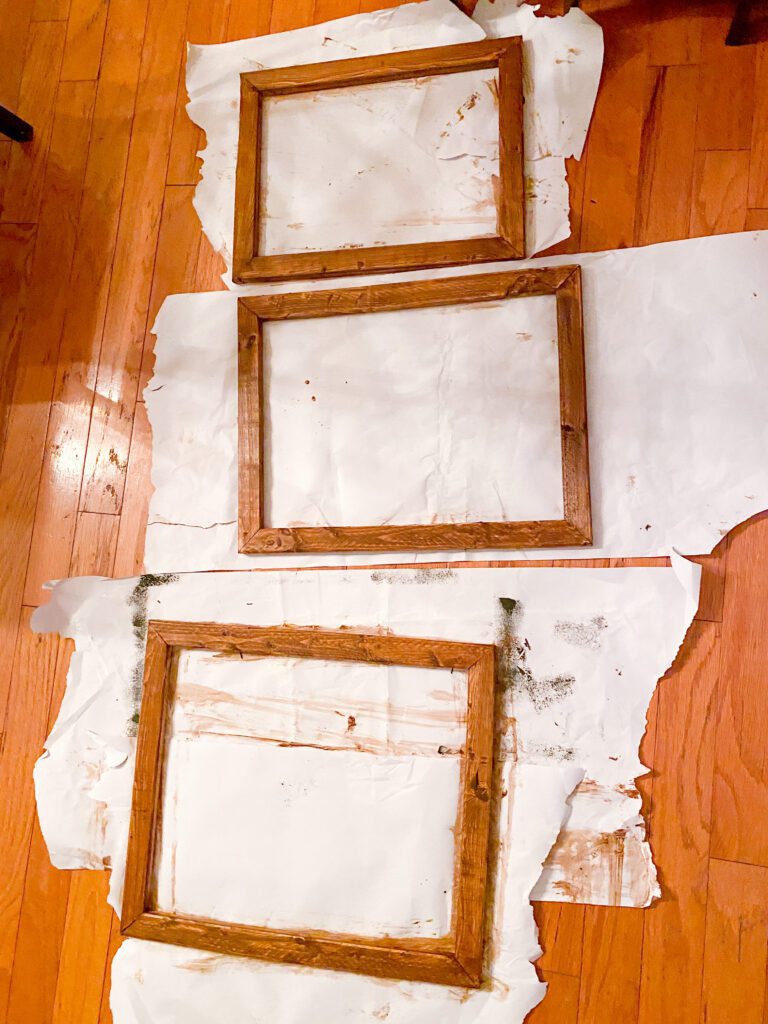
6. Stain the frames.
Another option would be to stain the long boards before cutting for the frames, but we took them right from curbside pick up to my in laws for cutting so we didn’t have the stain until after the pieces were cut. It was easier to stain as frames than all the tiny pieces. I used an old rag and just rubbed the stain on the frames. I let them dry completely.
7. Mount the prints to the frames.
Lay the frames good side down. Then lay the print print side down. line up/center the print on the frame. Using the 5/8″ brads, nail in the corners first, then go back and nail in the centers of the sides.
8. Flip over and enjoy!